Monday, July 8, 2013

Hot Fudge Sundae- A one-pot-wonder

 
Today was a lazy Sunday afternoon complete with a slow drive through the mountains to enjoy the beautiful world around us, and then a thunderstorm that hurried us back into the house and onto the couch under a cozy warm blanket. Of course we needed something sweet to accompany us :)
 
I searched through the pages of my Betty Crocker cookbook and found a chocolaty treat that I haven't made before. The winning ticket for me was, its a one pot wonder sundae. The sauce bakes with the brownie/cake and all you have to do is add some vanilla bean ice cream, or some fresh fruit.
Its warm and fudgy and guaranteed to bring someone you love in close for a snuggle and chocolate kisses *~*~*
 
 
Recipe:
 
1 cup all purpose flour
3/4 cup granulated sugar
2 tablespoons cocoa powder
2 teaspoons baking powder
1/4 teaspoon salt
1/2 cup milk
2 tablespoons vegetable oil
1 teaspoon vanilla
1 cup chopped walnuts (optional, but they add great texture)
1 cup packed brown sugar
1/4 cup baking powder
1/4 cup cocoa powder
1 3/4 cups very warm water
 
Vanilla bean ice cream or fresh fruit if desired.
 
Heat your oven to 350 degrees
 
Mix flour, granulated sugar, 2 tablespoons cocoa, baking powder and salt together with a fork.
Add milk, oil, and vanilla and mix until smooth. Stir in nuts.
Spread in to an 8.5x8.5 inch (greased) pan.
 
Sprinkle brown sugar/cocoa mixture over the top of the batter.
 
THIS NEXT PART WILL SOUND WEIRD BUT IT MAKES A DELICIOUS FUDGE SAUCE.
 
Pour 1 3/4 cups warm water over the top.
 
Bake 40 minutes or until top is dry. Cool for 10 minutes.
 
Spoon the warm cake into a bowl and catch some of the delicious chocolate sauce from the bottom of the pan. Pour it over the top of vanilla ice cream or fresh fruit.
 
I hope you enjoy this warm bowl of deliciousness!


post signature

Friday, July 5, 2013

School District Peanut Butter squares

Today it is raining cats and dogs out, and I just got a flood warning on my phone. I can hear the thunder and see the lightening out my window. My 2 year old is asleep and so there is nothing left for me to do today but build a small tent out of blankets in out living room, and eat peanut butter squares with my son. What a rough day making memories.


Friday, June 21, 2013

Saltine Toffee bites

I have this weird thing about me where after almost every meal, I crave something sweet... it doesn't always have to be a big dessert, cookie, brownie or ice cream, sometimes just a tiny sip of coke or a bite of sweetness does the trick.
Today I wanted something salty sweet with a bit of crunch. I asked my friend Google, and look what he shared with me...
Delicious saltine toffee bites. Maybe it sounds weird to you, but I'm telling ya, one bite and you will be sold. The crunch from the cracker wrapped up in delicious caramel toffee is such a perfect combo. The best part is, it whips up in no time flat!
 

Here's how I did it.
1. Spread out 20 saltine crackers on a cookie sheet. I lined mine with foil so it made the clean up easier. Look at me go!
Pre-heat your oven at 400 degrees...
 

Next, in a small saucepan, add 1/2 cup packed brown sugar, and a 1/2 cup unsalted butter.
Bring to medium-high heat while stirring consistently.


Once the mixture comes to a boil, let it boil for an additional 3 minutes.

  
Remove from heat and spoon a bit of caramel on each cracker.
You can scoot the crackers close together and pour the caramel on all at once if you want.
When the oven is ready, pop these babies in for 5-6 minutes. They will be all bubbly on top.


After the 5-6 minutes of heating, TURN THE OVEN OFF. Pull the pan out and sprinkle chocolate chips on top, and then shut the door and let them sit in the warm oven for about 30 seconds to soften.


When they look shiny like this, they are perfect.
 Take a butter knife and spread the chocolate all out on the toffee.


Wasn't that easy?


Now let them cool for a few hours and then you can chop them up into bite size pieces.

 
 This recipe can easily be doubled and you can fit about 40 crackers on a cookie sheet.
Then you can chop them up and give them to friends and neighbors too!
(Or you can be like me and eat all of them yourself :)
 
 
post signature


Friday, June 7, 2013

Salted Caramel Corn

 If you need a quick sweet tooth fix, goody gift for a teacher, neighbor, or friend, or just a good old fashioned snack for movie night... look no further! This caramel corn whips up fast and in no time flat you will be enjoying a warm handful of salty sweet goodness.


Recipe: Salted caramel corn
Recipe source: Emmy in her Element
 
Ingredients:
14 cups prepared plain popcorn
2 cups brown sugar
1 cup (2 cubs) butter
1/2 cup karo syrup
1 teaspoon salt
1 teaspoon baking soda
 
 In a large saucepan, stir together 2 cups brown sugar, 1 cup (2 cubes of butter), 1/2 cup Karo syrup, and 1 teaspoon salt on low heat.
Once the sugar has dissolved, turn up the heat to medium high and bring the caramel to a boil.
Boil for 2 minutes and stir consistently to avoid scorching.
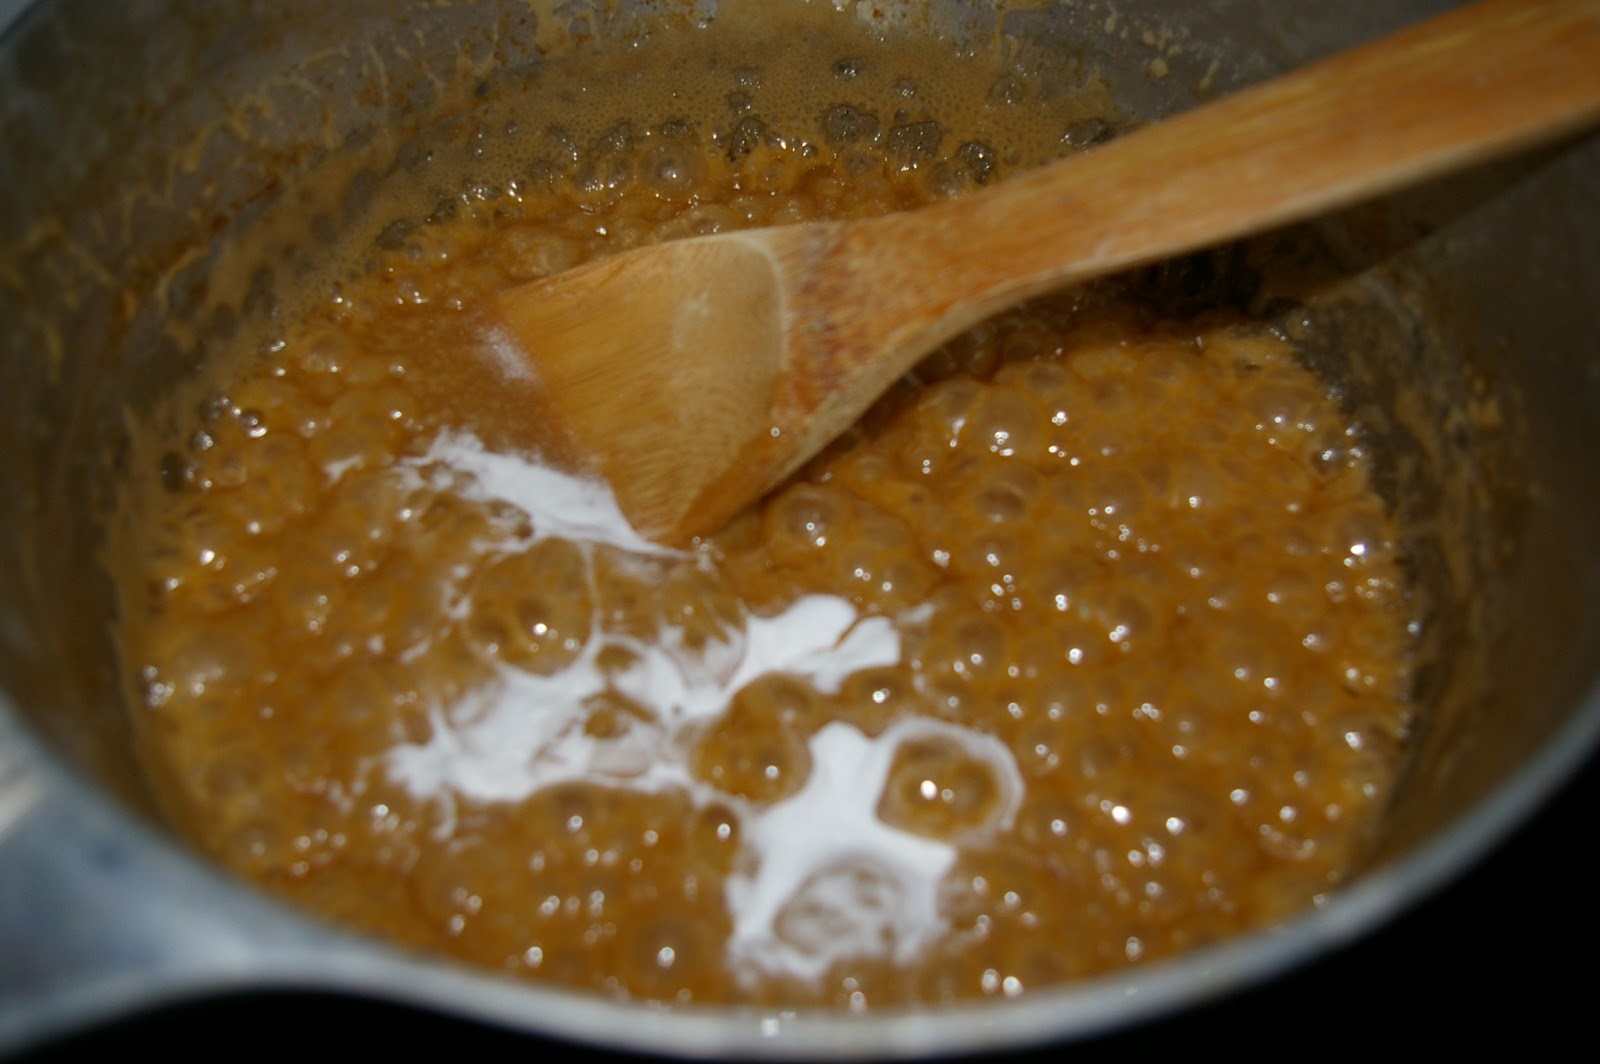
Remove from heat and stir in baking soda. Mix soda and caramel will begin to look foamy.
Pour caramel over prepared popcorn in a large bowl, mix  softly until popcorn in covered.
Pour caramel corn onto a baking sheet that's been lightly sprayed with cooking spray.
Serve warm or cooled to room temp. It is extra good right when it is gooey warm and
delicious!
 After the caramel corn has cooled to room temperature, store in a large zip lock bag. It will stay soft for 2 days.


Saturday, June 1, 2013

Rosemary Compound Butter

Since it's summertime and I have some fresh herbs planted, I decided I want to be better about trying incorporate herbs to my daily recipes. Summertime also means that the grill is fired up almost every night. Sometimes its fish, sometimes chicken or steak, or even fresh veggies, and this compound butter is a wonderful addition to them all.
I am telling you, THIS RECIPE IS A GAME CHANGER. This delicious butter can be enjoyed on so many things.
Tonight I decided to test it out on some home grilled steaks... I am telling you, I am in heaven!
 
 
 Here's how I made it.
 
Recipe: Rosemary Compound Butter
You can make this mix as big or small as you want portion wise. This recipe makes about 8 perfect pats to portion 1 pat per steak. Just double the recipe for more.
 
1/2 stick room temperature butter
1/2 teaspoon fresh chopped rosemary
1/2 teaspoon grated garlic
1/4 teaspoon salt
1/4 teaspoon freshly ground pepper


Add all ingredients to a small bowl and mix together with a fork.
 

Spread out a sheet of saran wrap and add the mixture in a clump.


Cover the butter and twist the ends. Carefully form the butter into a log shape.


You can make this a day ahead and refrigerate, or if you need it in a hurry like I did, you can throw it in the freezer for one hour.
After it is firm, place the log on a plate and slice into thick slices.
 
 
 I waited until just before my steak was done to add the butter. Then I shut the grill lid and let that tasty goodness get all melty on top.


As the butter melts, it creates a wonderful sauce that makes the steak so moist and delicious. You don't even need steak sauce.

 
If you have a flat iron grill you can add the butter a little earlier so it melts down the sides and caramelizes to create a delicious crust on your steak.
Don't forget, you can melt this butter onto veggies, bread, fish or chicken... or even use it as a sauté butter.

Hope you enjoy!
 
post signature


Sunday, May 26, 2013

Tripple Chocolate Birthday Cake (can also be made Gluten Free!)


I recently had a birthday... yeah, it wasn't my favorite. I am aging, slow but sure. Want to know what made me feel better about it?
My Mom made my favorite cake. Its not the typical kind of Birthday cake with tons of sugary overbearing frosting. It's a delicious dense chocolate cake, with a pudding/cream topping. Topped off of course with shavings of a chocolate Hershey bar.
One great thing about this cake, is it can be made way ahead of time so that the topping is very chilled before serving.... ummm ummm. Give it a try! It's a family favorite!
 
(Note: you can make this cake with a box cake if you want, I prefer the following recipe, as it creates a more dense and hearty cake. I think it goes better with the topping that way.
 
Recipe:
Mix two cups of sugar and two cups of white all purpose flour together in a bowl.
In a saucepan, melt a stick of butter and add 3 1/2 tablespoons cocoa powder, 1 cup water, and 1/2 cup Crisco shortening. Bring mixture to a boil and pour over flour and sugar. Mix together with a mixer.
Add 1/2 cup buttermilk, 1 teaspoon baking soda, 2 eggs, and 1 teaspoon vanilla.
(if you do not have buttermilk on hand, substitute with homemade: 1/1/2 teaspoons lemon juice and enough milk to make 1/2 cup. let it stand for a few minutes to thicken)

Pour into a greased and floured 9x13 glass pan. Bake at 375 degrees for about 30 minutes. Toothpick test to check doneness.
 
 LET CAKE COOL COMPLETELY
 
Mix one large packet of chocolate Jell-O pudding. Let this chill in the fridge until very cool.
 
For the whipped cream, you can either use a small container of cool whip topping, or you can make your own by mixing a small carton of heavy whipping cream and enough powdered sugar to lightly sweeten.
 
 After the cake has cooled fully (DONT RUSH IT!) you can spread the chilled pudding on top. Then over the top of the pudding, spread your whipped cream. Be careful not to get any chocolate pudding on your spatula or it will make your pretty white topping look messy.
Next take a Hershey's chocolate bar and a cheese grater and grate chocolate all of the top of the cream. Its a beautiful finishing touch.

GLUTEN FREE VERSION: I like to use a boxed Betty Crocker Gluten free cake. It makes for a dense cake as well. The jell-O pudding is already gluten free and the whipping cream obviously as well.
 
Store cake in the fridge and serve chilled. If you have any left over (by some miracle) you can store in the fridge until the next day.
 
I hope you love this cake as much as I do!


post signature


Thursday, April 25, 2013

Sloppy Chops on a bed of Asparagus

Are you afraid of making pork because it can be tough and flavorless?
I think that is a common fear... here is a recipe you can't mess up. The end result with give you a tender pork chop full of flavor.
 

I was playing in my kitchen like a chopped contestant (as usual :) and I came up with this sloppy chops dish inspired by a recipe from my mother. She used to add water to a pan with seared chops and slow cook them until tender. Here is my take on the recipe.
 
Slice one medium-large onion and sauté in  a little butter with salt and pepper.
 
 Turn your stovetop to medium heat and spray a large pan with a little cooking spray.
Season your chops with salt and pepper and a dash of dried thyme powder on both sides, and add to the hot pan. Once you drop the chop DO NOT MOVE IT. The key here is to get a good crust by searing each side.

Note: I always use bone in pork chops because they have so much more flavor.
 

See that beautiful browning going on? OH YEAH


Next, take a large glass of water and add a few tablespoons of Instant Brown Gravy mix.
(I know what your thinking... add beef gravy mix to pork? Yes. It sounds crazy, but try it!)


Once you have browned both sides of your Pork Chops, turn the heat to low and pour the gravy mix over the top. (Its going to splash and steam a little from the hot pan but just keep pouring!)


Now add your sautéed onions on top and cover with a lid.


 Keep heat on low-med heat and let the pork chops simmer for at least 1 hour covered.

Next remove some of your juice add a little corn starch to it to make a thicker brown gravy sauce to go on top.
Now, start your asparagus. Wash them and chop the ends off. Add them to a hot pan with melted butter. Season with salt and pepper.


Once they are softened, add some grated parmesan cheese on top. Toss consistently until cheese is lightly browned. Remove from pan and plate. Add your Pork chop and gravy on top.


Doesn't it look beautiful?


I hope this recipe inspired you try some pork chops for your family! It's a favorite at our house!
 
Note: This recipe can easily be made Gluten Free as long as the brown gravy mix you use does not contain any gluten.
 
 
post signature


Thursday, April 18, 2013

It's the small things


 Today I had such a busy day. So many things to do and get done. This afternoon my son wandered in the kitchen and opened the drawer with all of my kitchen tools. He pulled out the whisk and said "Mama! chocolate cake, chocolate cake!" I let him help me mix a box of chocolate cake up last week and he just thought it was the greatest thing ever to see the whole process and then get the delicious slice of warm chocolate cake after.
To be frank, I just wasn't feeling like cleaning up the inevitable mess that happens when you cook with kids... BUT he gave me that sweet puppy dog face and I couldn't help it.
I flipped through my Betty Crocker cookbook and we agreed on some Apple cinnamon muffins that looked so delicious.
 
 
 As I found patience and let him pour the ingredients in the bowl (and spill) and slowly stir the mix and be so proud of himself, I couldn't help but feel like there was a little bit of divine intervention happening in my kitchen. Isn't it so important to enjoy the little things? Sometimes in life we think "in a few years, I will have more money, and things will be happier." or "someday when I have all the things I've dreamed of, I will feel content"
 
---------------
 
I am making a goal to enjoy small moments in every day, because some day, and someday soon, I wont be able to make messes in the kitchen with my 3 yr old.... SO- here's to messy hands and happy faces, and a delicious recipe that will warm your heart!
 
 
Recipe:                                                                               Streusel Topping:
3/4 cup milk                                                                        2 tablespoon butter
1/4 cup vegetable oil                                                          1/4 cup packed brown sugar
1 large egg                                                                          1/4 cup flour
2 cups all purpose flour                                                      ( I used 1/8 cup flour and 1/8 cup quick
1/2 cup sugar                                                                        oats to add texture to the topping)
2 teaspoons baking powder                                                
1/2 teaspoon salt 
1 medium  apple peeled and chopped
1/2 tsp cinnamon
 
Heat oven to 400 degrees. Grease a Muffin tin. (I filled each tin almost full so it only made 9 muffins). Make streusel topping, and set aside.
Beat milk, oil and egg in a large bowl. Stir flour, sugar, baking powder and salt. Do not over mix. Add 1/2 teaspoon cinnamon and 1 medium peeled and chopped apple (I used pink lady's). Divide evenly in muffin cups.
Crumble streusel topping evenly over the tops of batter.
Bake at 400 degrees for 25-30 minutes.


Viola! Served warm, these little babies are packed with steamed chunks of apple and tasty goodness!
 
NOT SWEET ENOUGH FOR YOU? TRY THIS:

   I added a light glaze (I say light because its not frosting, and saying light makes it seem like its less fattening... right? RIGHT!)


Glaze: I added some powdered sugar in a small bowl, and just a tiny dash of milk... not too much, you can always add more. Mix it up and drizzle over the tops of the muffins.


 Enjoy this recipe and remember... It's the small things!
post signature


Blogging tips