

Showing posts with label Cake. Show all posts
Showing posts with label Cake. Show all posts
Wednesday, January 7, 2015
Vanilla cranberry layer cake with orange buttercream


Wednesday, December 31, 2014
New Year's Eve 2014

Saturday, December 20, 2014
How to create an AWARD WINNING Garnish in a few easy steps

Last weekend I had the opportunity to help out one of my family members by creating a few delicious desserts to enter into his Holiday work party.
We decided to make my mini cheesecakes with raspberry swirls as well as these cupcakes with a beautiful garnish. I guess I am going to have to come up with a name with them huh?
To my great surprise, the cupcakes took the grand prize! I was so excited I had to share with you how easy it was to create this beautiful garnish. It looks intimidating but really in just a few super easy steps, anyone can make it.
Wednesday, October 29, 2014
Easy and quick MONSTER cupcakes
.jpg)
What you will need for 3 eyed Monster Cupcakes:
Cupcakes with paper liners
Frosting
candy eyes
zip lock bag
frosting star tip
Friday, May 30, 2014
How to frost a beautiful cake with a butter knife and tin foil


Next, place your first layer of cake on the pan. Plop the frosting in the top center and spread it around the top of the cake leaving 1/2 inch border. This will leave a little space for when you top the cake with the next layer and the frosting "squishes" a little.


The next important tip for cake frosting is to make sure and frost from the TOP down. That means you only want to add more frosting to the very top of the cake, and use your knife to spread it down to the bottom in small circular motions.

Now that the cake is fully covered, we are going to make small circular motions all over the cake to fancy it up a bit. Just use your butter knife. It doesn't have any rhyme or reason, just random circles to make a beautiful cake.

Slowly and carefully pull/shake your tin pieces out from under the cake.

I topped mine with fresh raspberries for a pop of color and simplicity. Cherry's would be gorgeous too for a more vintage look.



Saturday, March 22, 2014
Mini Cheesecakes with raspberry swirls

Recipe: {Makes 32 Cheesecakes}
-Graham cracker crust-
1 1/2 cups finely ground graham crackers (use gluten free graham cracker crumbs if desired)-Graham cracker crust-
4-5 tablespoons butter, melted (It may feel a little too dry but once compacted it will set very well!)
3 tablespoons sugar
1/4-1/2 teaspoon cinnamon (OPTIONAL)
-Cheesecake filling-
4 bricks of cream cheese (32 oz) MUST BE ROOM TEMPERATURE
1 1/2 cups sugar1/8 teaspoon salt
1 teaspoon vanilla
4 large eggs, room temperature (setting your eggs out helps them incorporate into the filling more smoothly)
-Raspberry topping-
In your blender, mix a cup or so of fresh or frozen (thawed) raspberries, strawberries or triple berries.
Add a tablespoon of sugar (more if you want it sweeter) and blend.
Pour liquid through a sieve to separate seeds to make a smooth fruit topping.
Recipe" {Makes 12 cheesecakes}
-Graham cracker crust-
2-3 tablespoons butter, melted
1 cup graham cracker crumbs (use gluten free graham cracker crumbs is desired)
3 teaspoons sugar
1/4 teaspoon cinnamon (OPTIONAL)
-Cheesecake filling-
-Graham cracker crust-
2-3 tablespoons butter, melted
1 cup graham cracker crumbs (use gluten free graham cracker crumbs is desired)
3 teaspoons sugar
1/4 teaspoon cinnamon (OPTIONAL)
-Cheesecake filling-
2 bricks of cream cheese (16 oz) MUST BE ROOM TEMPERATURE
3/4 cup of sugar
pinch of salt
1/2 teaspoon vanilla
2 large eggs- room temperature
-Raspberry filling-
1/2 cup of raspberries or about 6-8 strawberries
2 teaspoon of sugar
In your blender, mix fresh or thawed raspberries, strawberries or triple berries and sugar until pureed.
Pour liquid through a sieve to separate seeds to make a smooth fruit topping.
pinch of salt
1/2 teaspoon vanilla
2 large eggs- room temperature
-Raspberry filling-
1/2 cup of raspberries or about 6-8 strawberries
2 teaspoon of sugar
In your blender, mix fresh or thawed raspberries, strawberries or triple berries and sugar until pureed.
Pour liquid through a sieve to separate seeds to make a smooth fruit topping.
{Recipe: makes 8 cheesecakes}
-Graham Cracker Crust-
-Graham Cracker Crust-
2 1/4 tsp. sugar
1/4 cup + 2 Tbsp. graham cracker crumbs (use gluten free graham cracker crumbs if desired)2 1/4 tsp. butter, melted
Dash of cinnamon (OPTIONAL)
-Raspberry Topping-
1/2 cup. raspberries, strawberries or triple berries fresh or thawed.
1 tsp. sugar
-Cheesecake filling-
1 brick (8 oz.) cream cheese MUST BE ROOM TEMPERATURE
1/4 cup + 2 Tbsp. sugar
pinch of salt
1/4 tsp. vanilla
1 large egg room temperature
Directions for all:
Preheat oven to 325°F.
Line your muffin tins with paper liners. To make your life very easy, cut small strips of wax or parchment paper to go underneath your cheesecakes to make them extra easy to remove! Spray liners with pam cooking spray.
Stir together ground graham crackers, butter, sugar and optional cinnamon. Press 1 tablespoon crust mixture firmly into bottom of each lined cup. Press with a (tippy) cup to make a firm crust! Bake until set, about 5 minutes. Transfer tins to a wire rack to cool.
Blend raspberries, strawberries or triple berries and sugar in a food processor or blender until smooth, about 30 seconds. Pass puree through a fine sieve into a bowl, pressing with a spatula to remove as much liquid as possible and separate seeds. Toss seeds in the garbage when done.
With an electric or stand mixer on medium-high speed, beat cream cheese until fluffy, scraping down sides of bowl as needed. With mixer on low speed, add your sugar in a steady stream. Add salt and vanilla; mix until well combined. Now add your eggs, one at a time, beating until just combined after each.
Spoon 2 heaping tablespoons of filling over crust in each cup. Use a spoon to make a few drops of raspberry, strawberry or blackberry puree on the top of each cheesecake (about 1/2 a teaspoon). With a skewer or back of your spoon, swirl sauce on the top of the cheesecakes . Put your cupcake pan on a baking sheet and add enough water to go about 1/2 way up the sides of the cookie sheet. THIS IS ALL YOU HAVE TO DO FOR THE WATER BATH! Do not skip this step, or your cheesecakes will sink in the center during baking.
Bake cheesecakes 30-32 minutes or until centers are set! THE WATER WILL BE VERY HOT so carefully remove your pan from the oven and out of the water on the tray. I like to turn the oven off and open the door a little to let them cool for about 5 minutes and I am able to carefully lift the pan out. Carefully transfer cheesecakes to a pan that you will transfer into the fridge. Refrigerate for AT LEAST 4 hours. The longer the better.
These can be made a day head, and I actually think they taste better that way as they are better set. They can be stored for 3 days (after cooled overnight, remove paper liners to store as they become moist as time goes on). Store in an airtight container or large ziplock bag in the fridge.
Preheat oven to 325°F.
Line your muffin tins with paper liners. To make your life very easy, cut small strips of wax or parchment paper to go underneath your cheesecakes to make them extra easy to remove! Spray liners with pam cooking spray.
Stir together ground graham crackers, butter, sugar and optional cinnamon. Press 1 tablespoon crust mixture firmly into bottom of each lined cup. Press with a (tippy) cup to make a firm crust! Bake until set, about 5 minutes. Transfer tins to a wire rack to cool.
Blend raspberries, strawberries or triple berries and sugar in a food processor or blender until smooth, about 30 seconds. Pass puree through a fine sieve into a bowl, pressing with a spatula to remove as much liquid as possible and separate seeds. Toss seeds in the garbage when done.
With an electric or stand mixer on medium-high speed, beat cream cheese until fluffy, scraping down sides of bowl as needed. With mixer on low speed, add your sugar in a steady stream. Add salt and vanilla; mix until well combined. Now add your eggs, one at a time, beating until just combined after each.
Spoon 2 heaping tablespoons of filling over crust in each cup. Use a spoon to make a few drops of raspberry, strawberry or blackberry puree on the top of each cheesecake (about 1/2 a teaspoon). With a skewer or back of your spoon, swirl sauce on the top of the cheesecakes . Put your cupcake pan on a baking sheet and add enough water to go about 1/2 way up the sides of the cookie sheet. THIS IS ALL YOU HAVE TO DO FOR THE WATER BATH! Do not skip this step, or your cheesecakes will sink in the center during baking.
Bake cheesecakes 30-32 minutes or until centers are set! THE WATER WILL BE VERY HOT so carefully remove your pan from the oven and out of the water on the tray. I like to turn the oven off and open the door a little to let them cool for about 5 minutes and I am able to carefully lift the pan out. Carefully transfer cheesecakes to a pan that you will transfer into the fridge. Refrigerate for AT LEAST 4 hours. The longer the better.
These can be made a day head, and I actually think they taste better that way as they are better set. They can be stored for 3 days (after cooled overnight, remove paper liners to store as they become moist as time goes on). Store in an airtight container or large ziplock bag in the fridge.
I used my baby's tippy cup to press the crust into the tins.


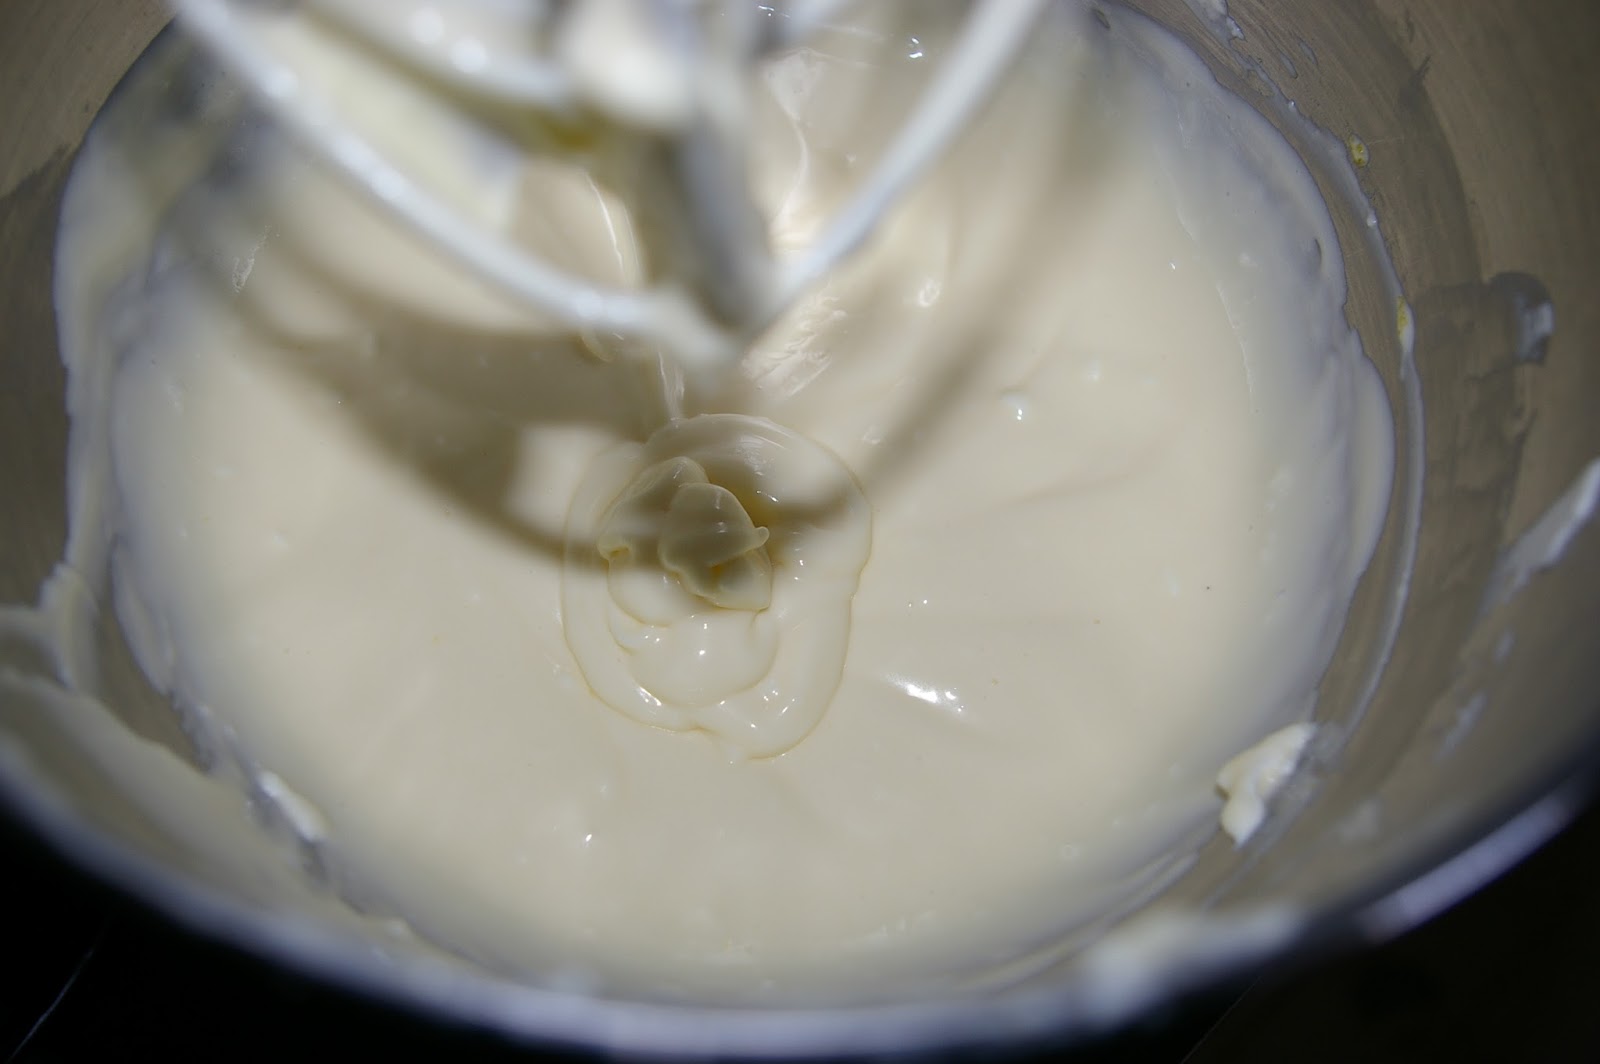
*Make sure and mix things in the right order, cream cheese, sugar, vanilla, salt and then eggs. It does make a difference! You should end up with a very smooth and creamy filling. Take a spatula and scrape down the sides and bottom of bowl to make sure you don't have any chunks of cream cheese.
Using a sieve to strain the seeds leaves a delicious smooth raspberry sauce.


Just a few drops on top will be perfect. Use a skewer or the back of a spoon about 1/4 of the way down into the filling to swirl them.
**NOTE: As you can see in my first pan, I used strawberry to top my cheesecakes and the liquid was much thinner than the raspberry below. It was also a lighter pink color after swirled (see 3rd pic) still very pretty but if you want the deep red color, go for the raspberry for sure).


Monday, March 17, 2014
Make your own CONFETTI Cupcakes

I don't know about you but even in my adult age I think confetti cupcakes are super fun and cute and so exciting to get or give to someone for a birthday.
Recipe Homemade Confetti Cupcakes:
Recipe source: Sally's baking addiction
1 and 2/3 cup all-purpose flour
1/2 teaspoon baking powder1/4 teaspoon baking soda
1/2 teaspoon salt
1/2 cup (1 stick) unsalted butter, melted
1 cup granulated sugar
1 large egg
1/4 cup vanilla yogurt or sour cream
3/4 cup milk
2 teaspoons vanilla extract
1/2 cup sprinkles (I USED 1/4 and it was plenty!)
Preheat oven to 350 degrees F.
In a medium bowl, whisk together flour, baking powder, baking soda and salt.
In another bowl, melt butter and then stir in sugar. Let cool for a moment and add milk, egg, vanilla and sour cream or yogurt. Slowly combine dry ingredients until mixed. Batter will be thick.
Stir in sprinkles JUST UNTIL COMBINED. If you stir too much all of the dye will leak off into your batter.

Add to 12 cupcake liners and bake for about 18-20 minutes or until toothpick tested done. Makes 12 cupcakes.
Let cool and frost with my favorite buttercream frosting {I think almond pairs best with these cupcakes}


You will excuse me now so I can enjoy a cupcake before they are all gone :)


Thursday, February 27, 2014
My favorite frostings: Vanilla buttercream, Chocolate almond, and orange "Buttercreamsicle"

 |
| Vanilla cranberry layer cake with orange buttercreamsicle frosting |
 |
| How to create an award winning garnish in a few simple steps |


Recipe: Delicious Homemade Frosting:
Recipe source: Emmy in her Element
Recipe source: Emmy in her Element
{Vanilla Almond buttercream}
1 cup (2 sticks) room temperature butter
1/8 teaspoon salt (yes the salt is needed to balance out all of the sweetness)
1 teaspoon Vanilla
4-5 cups powdered sugar (depending on desired thickness)
2 1/2-3 tablespoons milk
1/2 teaspoon almond extract (optional but so delicious!)
1/2 teaspoon almond extract (optional but so delicious!)
Food coloring (optional)
Note: If you are wanting your frosting to be very white, substitute clear vanilla for dark vanilla to help keep it lighter white.
Note: If you are wanting your frosting to be very white, substitute clear vanilla for dark vanilla to help keep it lighter white.
{Chocolate buttercream}
1 cup (2 sticks) room temperature butter
1/8 teaspoon salt (yes the salt is needed to balance out all of the sweetness)
1 teaspoon Vanilla
4-5 cups powdered sugar (depending on desired thickness)
3 tablespoons milk
2 tablespoons cocoa powder1/2 teaspoon almond extract
{Orange Buttercreamsicle}

Ingredients:
2 cubes room temperature butter
pinch of salt
2 tablspoons fresh orange juice
1/2 tablespoon orange zest
4 cups powdered sugar
1 teaspoon vanilla.
Cream ingredients together until whipped into fluffy topping. You will need to let the frosting mix for 3-5 minutes. You can add more sugar to thicken it or more milk to make it a thinner frosting. In order to get frosting to hold its form (such as in the pictures shown on my cupcakes) you will need to add the full amount of powdered sugar to thicken it. Thinner frosting will still taste delicious and work fine, but will not hold its shape as well for piping.
Ingredients:
2 cubes room temperature butter
pinch of salt
2 tablspoons fresh orange juice
1/2 tablespoon orange zest
4 cups powdered sugar
1 teaspoon vanilla.
Cream ingredients together until whipped into fluffy topping. You will need to let the frosting mix for 3-5 minutes. You can add more sugar to thicken it or more milk to make it a thinner frosting. In order to get frosting to hold its form (such as in the pictures shown on my cupcakes) you will need to add the full amount of powdered sugar to thicken it. Thinner frosting will still taste delicious and work fine, but will not hold its shape as well for piping.
These frosting recipes can be frozen up to 3 weeks. Thaw at room temperature and re-whip to soften and re-cream.


Subscribe to:
Posts (Atom)


share this post »