Showing posts with label Holiday food. Show all posts

Tuesday, March 29, 2016

Strawberry cheesecake-pie

Is there such a thing as a cheesecake-pie?? Last weekend I made a fresh strawberry pie for Easter dessert. During the process of mixing the strawberries in this wonderful sweet strawberry glaze, I realized that the pie would be so much tastier with a cream-cheesy layer to add a cheesecake like element. I can't fully call this a cheesecake or a strawberry pie alone because of the portions of both the cream filling and the strawberry filling.
With a little experimentation and thumbs up from my best and most honest taste tester husband, I give to you a very simple but sweet and delicious (Griswold drumroll please)... Strawberry cheesecake-pie.
 
 
Strawberry cheesecake-pie
Recipe source: Emmy in her Element
 
Ingredients:
{crust}
1 1/4 cup graham cracker crumbs
1/3 cup melted butter
1/4 cup sugar
 
Mix together and press into 9" pie dish. Bake in 375 degree oven for 6-8 minutes or until set and golden. Watch closely, this can burn! Let cool until room temp or cool in refrigerator before spreading cream filling.
 
{cream filling}
8 oz room temperature cream cheese
3 heaping tablespoons powdered sugar
1 cup whipped cream (I mixed up some heavy cream homemade and just whipped this up very first)
 
Beat whipped cream until stiff peaks form. Set aside.
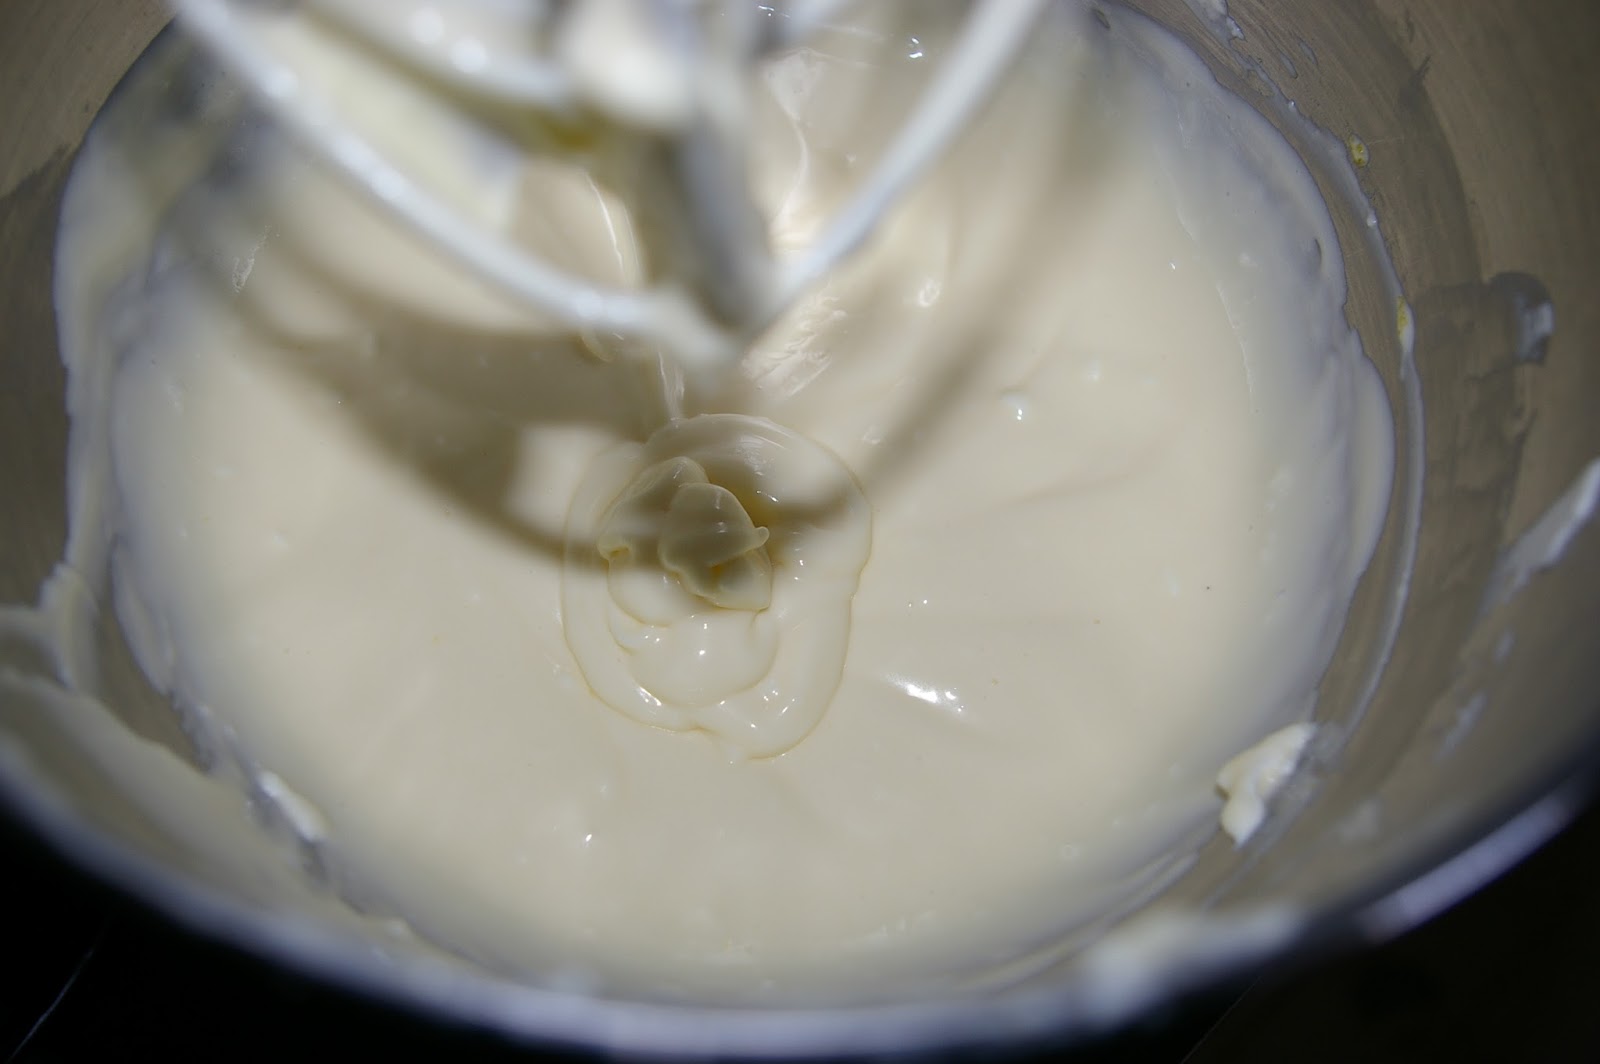
Beat cream cheese and sugar until smooth. Gently fold in heavy cream until incorporated.
Spread into cooled graham cracker crust about 1/2" in thickness.
 
{Strawberry topping} 
1 box strawberry junket Danish Dessert.
2-3 cups fresh chopped strawberries (more or less depending on how high you want to pile them, yum!)
 
Follow directions on Danish dessert filling (the box calls to mix the powder with 1 3/4 cup water, I took out 2 tablespoons water and replaced it with 2 tablespoons lemon juice to add tartness). Let cool slightly before mixing strawberries into the glaze.
 
Assemble pie by baking crust, letting cool and then spreading with cream filling and topping with deliciously glazed fresh strawberries (make sure this is cool enough it wont melt your cream filling). Let this pie have 2-3 hours to set in the fridge before its ready to eat.  I like to add fresh whipped cream on the pie right before serving.


I had extra filling so I made some mini pies to take and share as well. Wouldn't these mini's be so fun for a birthday party or shower?


post signature

Friday, April 3, 2015

No bake carrot pudding pots


These little nuggets of fun are perfect for a quick treat or spring dessert. Kids can help make them and they are sure to be a hit!

Tuesday, February 10, 2015

Sweet cherry Pocket Pies


Recipe: Sweet cherry pocket pies
Recipe source: Emmy in her Element
 
What you'll need:
1 can cherry pie filling
1 batch homemade pie dough or store bought dough
{For homemade dough you will need: 2/12 cups all purpose flour, 1 cup Crisco shortening, 1 teaspoon salt, and about 8 tablespoons ice water}
1 beaten egg
 
A heart shaped cookie cutter
 

Wednesday, January 7, 2015

Vanilla cranberry layer cake with orange buttercream


There are no words to describe my love for this cake, so I'm not going to try. I selfishly thought about keeping it to myself (especially after creating a creamy frosting that tastes just like an orange creamsicle) but thanks to your encouragement on my instagram account, I decided it is too special to hide away.
 
I hope you will try this recipe, it may look intimidating but it really isn't hard. Just a few steps to put together this towering beauty!
 

Wednesday, December 31, 2014

New Year's Eve 2014


It's New Years Eve and I'll bet you have a party to attend this evening. If you need an easy fancy looking dessert idea to take along, look to further.
I am making this recipe semi-homemade so that we can shorten baking time, but not compromise on that baked-from-scratch flavor.
 
Ill walk you through step by step to help you get that perfect look for your New Years Eve bash.
 

Sunday, December 21, 2014

Easy Gingerbread Man cookie glaze

 
If you saw my favorite gingerbread man cookie post you will probably be wanting my easy gingerbread man cookie glaze.
This is a very simple yet beautifully glossy glaze.
I usually help my kids spoon it on and let them go crazy with sprinkles and decorations.
 

Favorite Holiday Gingerbread Man cookies


Can I officially call it Christmas week? With school being out and all other activities being postponed until next year (that sounds weird), presents wrapped and kids at my heels, I have decided we are fully submerging ourselves in everything Christmas.
I am going to find a service project to do with my little ducklings this week but since today is lazy Sunday, we thought it best to spend time together making the cookies we will leave out for Santa. This is a favorite recipe of mine I have been making for years.
Chewy, soft, spiced, delicious, and just plain adorable! I couldn't decide which pictures to cut so I just used them all.
Make these cookies with someone you love! Happy Christmas week.

Wednesday, October 29, 2014

Easy and quick MONSTER cupcakes


Do you need a super fast and easy treat to take to your Halloween party?
Here is an idea for you! I whipped these up with my kids today and they had so much fun putting the "eyeballs" on the monsters.
If you need a tasty homemade frosting recipe GO HERE, and if you want to try some cute confetti cupcakes GO HERE.
 
What you will need for  3 eyed Monster Cupcakes:
Cupcakes with paper liners
Frosting
candy eyes
zip lock bag
frosting star tip

Tuesday, September 23, 2014

Fall Apple Crisp


Apples are falling and it's time to put them to good use! I have been canning applesauce this week and I decided to whip up a dish of warm apple crisp to snack on while I was working. Oh my! I cannot get enough of the tart apple taste with a buttery crumble topping.
This is a quick and easy recipe, perfect for a fall dessert or party.
Enjoy!

Sunday, May 25, 2014

Cheddar bacon vegetable dip

I love making beautiful food. What I love even more than that, is sharing it. I remember when I was little, my family loved watching the Utah Jazz play. I would always be in the kitchen slicing and dicing and making some kind of snack for us to enjoy during the game...for me, that was the best part of it. I would spend so much time placing the fruit on the dish in a way that the brightest colors played off of each other and so it looked as pretty as it tasted.
I guess I have never outgrown that passion, and even today I love adding creativity and art to my makes.
Today I am sharing our family's very favorite veggie/cracker dip. It was passed down from my Grandma, she used to make it every holiday we would spend together. It is so packed with flavor and SOOO delicious. I promise you will never make anything but this for your next veggie platter. This dip is also an amazing baked potato topper or dip for hot wings.
 You are going to love it!
 
 
Recipe: Cheddar bacon veggie dip
Recipe source: Emmy in her Element
 
1 pound 16 oz sour cream (we like daisy)
1 tablespoon plus 1 teaspoon Hidden Valley Ranch packet powder
1/4 cup Hormel bacon bits
1 1/2 cups medium or sharp cheddar cheese
3/4-1 teaspoon creamy horseradish (you can start out small and add more if you like the bold flavor!)
 
Mix ingredients together and serve with vegetables, crackers, pretzels, or on a baked potato as a topper. Keep chilled.
** Note: I served my dip today in 3 hollowed out green peppers just too add some creativity. I added a little bacon, cheese and chive straws from my HERB GARDEN on top for garnish. My veggie platter consists of cauliflower, sweet peppers, olives, celery and carrots. If you are making this for a large crowd, you can double the recipe for dip and serve it in a hollowed out eggplant to look pretty!
 
 
post signature

Wednesday, May 21, 2014

Delicious Pulled Pork for Parties and what to do with the leftovers

As you have previously read, I am the proud wife of a shiny new graduate. Along with all of the stress of the last few weeks, we have enjoyed a spending time with old friends and many family members to celebrate our new Engineer.
I have been keeping track of a lot of the recipes from the parties we have had, and I can't wait to share them with you!
This recipe is my Mom's and it is truly delicious. I love it so much because you can make it a day ahead, and you can change the homemade sauce a little here and there to your liking. Add a bold spice, or some extra brown sugar to make it sweeter... it's up to you to make it your own, but our family LOVES this recipe. I am sharing the large amounts we made so that you can use this for a party. Obviously you can cut the recipe down if you are just making it for your family. This pork freezes very well and if you want, you can just make the larger amount and save a portion in the freezer for another night!
I will also share an idea on how to use the leftovers if you have any.
 
 
Mom's Homemade BBQ pulled pork:
{Meat}
Pork Cushion roast (this has a little more fat than tenderloin and will be more flavorful)
Roast Pork in a roasting pan at 350 degrees for about an hour per pound of meat or until you can shred the meat very easily. For 20 pounds it took about 5-6 hours. Do not add any water to the meat, as it cooks it will create its own juices and brown a little on top. You can sprinkle the roasts with salt and pepper if desired. Shred the meat by taking two forks and separating. Remove any strings of fat from the shredded meat and toss.
Once meat has been shredded, add homemade sauce and heat in crockpot or in a heavy pot with a lid until heated through and ready to serve.
 
{Homemade Sauce}
**FOR EVERY 5 POUNDS OF PORK CUSHION USE THIS AMOUNT OF SAUCE*
1 30 ounce can of tomato sauce
1/8-1/4 cup brown sugar depending on your desired sweetness
1 tablespoon Worcestershire sauce
2 tablespoons rehydrated minced dry onions
1 teaspoon ground mustard powder
1 teaspoon garlic salt
1/2 teaspoon onion salt
1 cup Sweet Baby Rays "Sweet and Spicy" BBQ sauce
 
Important notes: I used about 20 pounds of meat to feed 50 people and had a little bit left over. We made pulled pork sandwiches on parker house dinner rolls.  My mom mentioned to me that while she did quadruple the amount of sauce to mix with the meat, she didn't have to add quadruple the amount of the spices. They stayed pretty strong even when she added more tomato sauce and BBQ sauce to make a larger amount. I would say once you have made the base sauce, if you need to double, triple or quadruple the sauce amount, just start by adding more tomato sauce, BBQ sauce, Worcestershire and sugar, and then add the spices little by little from there until you get your desired flavor. THIS SAUCE IS GLUTEN FREE just make sure if you use a different brand of BBQ to check the label for gluten free if you are making it for a friend or family member with Celiac disease.
If you make this pork and freeze it, you will likely need to make more sauce to add to the pork as it will absorb most of the sauce as it freezes.

We served this pulled pork to our guests on Parker House dinner rolls. You could also slice a large loaf of French bread and add the meat to it, and slice into sandwiches. Another option would be to use this pork on a salad or in a Mexican dish... all delicious!
 
I hope you try and love this recipe like we do. After our afternoon party, we had our friends come back to our house for a backyard fire and marshmallow roasting. I ended up heating up the left over pork and serving it on buns at 11:30pm to our friends around the camp fire. It was so much fun and they tasted so delicious!
 
If you need another idea for your left overs...
I made a delicious Grilled Swiss cheese and pulled pork sandwich... kind of the "fanciest" version of a grilled cheese possible.. and it was sooo tasty.
 
 
Recipe:
Bread of your choice
Garlic powder
Swiss cheese
Left over pulled pork
Room temperature butter for spreading
 
Take two slices of bread (I used bran bread) and spread lightly with butter. Sprinkle lightly with garlic powder on one slice of bread. Place into a fry pan on low to medium heat. Top with Jarlsberg Swiss cheese slices, and some of the warmed up left over pulled pork. Then add your second slice of bread on top. Let the bread grill until golden brow, then flip to brown the other side. The Swiss cheese should be melty over the pork. Let cool for a minute or two and SCARF IT UP!
post signature

Monday, May 5, 2014

Family favorite Pasta Salad


LAST POST I promised to share a few recipes I used at a recent baby shower I threw for my friend. This pasta salad has been a recipe my mom made growing up, and after I got married I tried my Mother in Law's version as well. I took it upon myself to combine ideas from the two, and I am really happy with the end result!
This salad can be made with variations, adding or substituting as you please... the flavors are bright and fresh, and it can be made ahead of time for early and easy preparation.
 
Recipe: Family Favorite Pasta salad
Recipe source: Emmy in her Element
 
1 Box Rotini pasta
6 cheese sticks cut into 1/4"thick slices
3/4 cup purple chopped purple onion
1 cucumber peeled and cut into bite sized chunks
1 cup cheery tomatoes sliced in half or thirds
1 cup blanched broccoli chopped
1 2.25 oz can sliced black olives.
1 bottle Italian Dressing
1-2 tablespoons Jonny's salad essence seasoning
 
Garnish:
Toothpicks
cherry tomatoes
string cheese slices
sliced crostini bread or bagel chips
 
Boil Pasta as directed. Do not over cook as the pasta will soak in some of the dressing. Drain and cool in the refrigerator. Cut veggies and cheese, and set aside. Flash boil the broccoli for just a few minutes to lightly soften. Do not over cook. Immediately remove and add to an ice bath or rinse in cold water to stop the cooking process. Cool broccoli in the refrigerator. Once pasta has cooled, add veggies, olives, cheese, salad essence and stir in about 3/4 of the bottle of Italian Dressing. Mix together and let cool together in the fridge. After a few hours, add a little more dressing as the pasta will soak a little of it up as it cools.
For my party, a fun way I found to dish up the salad was to add it to clear cups and add a garnish on the top. I made this by taking a tooth pick and adding 1 whole cherry tomato and a slice of mozzarella cheese. Right next to it I added a bagel chip, I also think a slice of crostini bread would be perfection.
This was easy to make ahead of time and chill until my guests arrived.
 
 
 You could also add pepperoni, or use different kinds of pasta for this salad. I have had it made with tri-colored pasta, spaghetti noodles, or bowtie. You could also use different vegetables, let your imagination take over!
 
post signature

Sunday, April 20, 2014

How to make your own Chick-hatching Easter {DEVILED} eggs


Happy Easter Sunday everyone. I hope you have a beautiful day! I will be spending my day growing spiritually, enjoying time with family and of course devouring a delicious feast. One of my favorite recipes for Easter is for deviled eggs turned chick! I have a super easy recipe to share with you that is fun and fast.
Want to make it even faster? Boil or bake your eggs the night before.
If you aren't a fan of boiling eggs... try this fast mess free tip! They will turn out perfect every time.
Place eggs in a cupcake tin, and bake in a 325 degree oven for 30 minutes. Let cool, store in the refrigerator until you need them. Peel and enjoy!
 
Recipe- 8 Deviled chick eggs- See pictures below for process
Recipe Source: Emmy in her Element
 
8 eggs, hard boiled or baked (see above). Peel and cut 1/3 of the top off the egg.
8 egg yolks from boiled eggs
1/4 cup + 2 tbsp. light mayo (Best Foods is my favorite)
1 teaspoon yellow mustard
1/4 teaspoon salt
1/4 teaspoon paprika
pinch of sugar (this helps balance the salty tangy flavors)
1/3 teaspoon white vinegar
pinch of onion powder
 
{chick embellishments}
1 can chopped black olives
2 small carrots
 
Cut the top third of the egg off and add yolks to a bowl. Now turn the egg over and make a very small cut (1/4 inch in thickness or less) of the bottom of the egg, as to help it stand on the plate without tipping over. Keep this small piece of egg to add to the top of your chick heads.
Place hollow eggs on a plate surrounded with spinach.
Mix yolks and all ingredients in a bowl. Use mixer to whip together if you want a very smooth consistency. Add filling into a piping bag with a star tip. Pipe deviled mixture into eggs making a circular motion at the top.
For the embellishments, use olives and carrots for the beak. Just slice a few pieces into a triangle shape. Now place the extra bottom pieces of egg that you cut off on the tops to look like the eggs are hatching. Voilà! All finished. Store in the fridge and chill until ready to serve.


OPTION 2
If you want to skip the chick look and go for something a little more "adult"... here is another option! Do everything the same and leave out the embellishment part. They look beautiful!
 
 
HAPPY EASTER SUNDAY
post signature

Saturday, March 22, 2014

Mini Cheesecakes with raspberry swirls


I have been craving cheesecake for 2 weeks now and I finally gave in today and picked up some cream cheese. Now, I don't know how you feel about your cheesecake but for me, I can only have a sliver before it gets too rich.
I decided today instead of making a whole big cheesecake that would probably go to waste, I would make some mini's and share with my Sister in law who is celebrating her birthday. Win Win.
 
I found this recipe from "Martha's Cupcakes" a while ago, and I love it. They look so beautiful and complicated, but if you follow a few simple steps, they turn out looking like they are from a restaurant! The first time I made it I was a little freaked out of doing a "water bath" so I skipped that step and unfortunately my cakes were sunken in the center. A tip for you: Don't skip the water bath. Its easier than it sounds and it makes for beautifully puffy little cakes that will make you smile.
 
The original recipe makes 32 cheesecakes, perfect for a bridal/baby shower or any party you want. For a family size, I will also share a broken down recipe that can make 12 cheesecakes or one for 8.
I have never frozen these cheesecakes as they have never lasted long enough, but I do know they will store in the fridge for a few days if stored properly in an air tight container.
Hope you enjoy this sweet little recipe!
 
 
Recipe: {Makes 32 Cheesecakes}
-Graham cracker crust-
1 1/2 cups finely ground graham crackers (use gluten free graham cracker crumbs if desired)
4-5 tablespoons butter, melted (It may feel a little too dry but once compacted it will set very well!)
3 tablespoons sugar
1/4-1/2 teaspoon cinnamon (OPTIONAL)

-Cheesecake filling-
4 bricks of cream cheese (32 oz) MUST BE ROOM TEMPERATURE
1 1/2 cups sugar
1/8 teaspoon salt
1 teaspoon vanilla
4 large eggs, room temperature (setting your eggs out helps them incorporate into the filling more smoothly)

-Raspberry topping-
In your blender, mix a cup or so of fresh or frozen (thawed) raspberries, strawberries or triple berries.
Add a tablespoon of sugar (more if you want it sweeter) and blend.
Pour liquid through a sieve to separate seeds to make a smooth fruit topping.


 Recipe" {Makes 12 cheesecakes}
-Graham cracker crust-
2-3 tablespoons butter, melted
1 cup graham cracker crumbs (use gluten free graham cracker crumbs is desired)
3 teaspoons sugar
1/4 teaspoon cinnamon (OPTIONAL)

-Cheesecake filling-
2 bricks of cream cheese (16 oz) MUST BE ROOM TEMPERATURE
 3/4 cup of sugar
pinch of salt
1/2 teaspoon vanilla
2 large eggs- room temperature


-Raspberry filling-
1/2 cup of raspberries or about 6-8 strawberries
2 teaspoon of sugar
In your blender, mix fresh or thawed raspberries, strawberries or triple berries and sugar until pureed.
Pour liquid through a sieve to separate seeds to make a smooth fruit topping.

 
{Recipe: makes 8 cheesecakes}
 -Graham Cracker Crust-
2 1/4 tsp. sugar
1/4 cup + 2 Tbsp. graham cracker crumbs (use gluten free graham cracker crumbs if desired)
2 1/4 tsp. butter, melted
Dash of cinnamon (OPTIONAL)

-Raspberry Topping-
1/2 cup. raspberries, strawberries or triple berries fresh or thawed.
1 tsp. sugar

-Cheesecake filling-
1 brick (8 oz.) cream cheese MUST BE ROOM TEMPERATURE
1/4 cup + 2 Tbsp. sugar
pinch of salt
1/4 tsp. vanilla
1 large egg room temperature
 
 Directions for all:
Preheat oven to 325°F.
Line your muffin tins with paper liners. To make your life very easy, cut small strips of wax or parchment paper to go underneath your cheesecakes to make them extra easy to remove! Spray liners with pam cooking spray.

 Stir together ground graham crackers, butter, sugar and optional cinnamon. Press 1 tablespoon crust mixture firmly into bottom of each lined cup. Press with a (tippy) cup to make a firm crust! Bake until set, about 5 minutes. Transfer tins to a wire rack to cool.

Blend raspberries, strawberries or triple berries and sugar in a food processor or blender until smooth, about 30 seconds. Pass puree through a fine sieve into a bowl, pressing with a spatula to remove as much liquid as possible and separate seeds. Toss seeds in the garbage when done.

With an electric or stand mixer on medium-high speed, beat cream cheese until fluffy, scraping down sides of bowl as needed. With mixer on low speed, add your sugar in a steady stream. Add salt and vanilla; mix until well combined. Now add your eggs, one at a time, beating until just combined after each.

Spoon 2 heaping tablespoons of filling over crust in each cup. Use a spoon to make a few drops of  raspberry, strawberry or blackberry puree on the top of each cheesecake (about 1/2 a teaspoon). With a  skewer or back of your spoon, swirl sauce on the top of the cheesecakes . Put your cupcake pan on a baking sheet and add enough water to go about 1/2 way up the sides of the cookie sheet. THIS IS ALL YOU HAVE TO DO FOR THE WATER BATH! Do not skip this step, or your cheesecakes will sink in the center during baking.

Bake cheesecakes 30-32 minutes or until centers are set! THE WATER WILL BE VERY HOT so carefully remove your pan from the oven and out of the water on the tray. I like to turn the oven off and open the door a little to let them cool for about 5 minutes and I am able to carefully lift the pan out. Carefully transfer cheesecakes to a pan that you will transfer into the fridge.  Refrigerate for AT LEAST 4 hours. The longer the better.
 These can be made a day head, and I actually think they taste better that way as they are better set. They can be stored for 3 days (after cooled overnight, remove paper liners to store as they become moist as time goes on). Store in an airtight container or large ziplock bag in the fridge.
 
                                   I used my baby's tippy cup to press the crust into the tins.


 *Make sure and mix things in the right order, cream cheese, sugar, vanilla, salt and then eggs. It does make a difference! You should end up with a very smooth and creamy filling. Take a spatula and scrape down the sides and bottom of bowl to make sure you don't have any chunks of cream cheese.

 
Using a sieve to strain the seeds leaves a delicious smooth raspberry sauce.


Just a few drops on top will be perfect. Use a skewer or the back of a spoon about 1/4 of the way down into the filling to swirl them.
**NOTE: As you can see in my first pan, I used strawberry to top my cheesecakes and the liquid was much thinner than the raspberry below. It was also a lighter pink color after swirled (see 3rd pic) still very pretty but if you want the deep red color, go for the raspberry for sure).


**NOTE** did you know you can find cake carriers at the $1 store? They are so cute and PERFECT to carry/store/deliver cupcakes, cakes or cheesecakes! And since they are only a buck, you can give the container to whomever you're delivering the goodies too! No pan returning? That's my style.
 
 
The perfect bite of creamy sweetness.
 
 
This recipe can be made with so many toppings. You could try plain cheesecakes with blueberries on top, cherry, caramel or chocolate... the sky is the limit! You could also use a Nilla wafer for the crust or an oreo!
 
Don't forget to pin the recipe to your goodie folder!
 
  
post signature
 
Blogging tips