Today I wanted to share photos from the master bedroom of my small home. I have been hesitant to share pictures of my humble home because well, it's not exactly as beautiful and perfect as some of the other home tours you will find on Pinterest. But, with a lot of work, thrifting and hand made items, I have been able to transform my space into a comfortable and cozy haven with a touch of farmhouse charm. I have had to do it all on a dime, so I will share with you where I purchased a lot of my décor and furniture pieces.
Living in an older home comes with good and bad all in one.
The pros in this space?
1. Gorgeous wood floors. {ahhhh}
2. Large windows that let the sunshine light up my room in the afternoon through the evening. -Wonderful-
The cons?
1. Very small room, my King Size bed takes up most all of the space.
2. Hardly any closet space. A his and hers closet measuring only 3 feet in width. You know what this means right...? Both sides are mine :)
Here are a few tricks for making the most of the small space...
-Adding mirrors to a room gives it fluidity and makes it feel bigger because rather then seeing just wall space, your eyes see into the reflection making the space seem larger.
-Using light colors vs. dark paint and bedding can always add visual space to a room. The darker the paint on the walls, the more closed in and smaller it will become visually. I chose taupe's and whites for this room to help it feel more open and airy, although now that the gray trend is in, I would love to paint this room a very light gray color. Seems like there is always something to change isn't there?
Honestly, these hydrangeas were the most expensive decor item in the room. I have collected these for months when they go on sale at Joanne's Fabric. I love how they all look together in the basket. The handkerchief was a gift to me from a family member. I love its hand stitched tatting and intricate detail. I knew I would display it instead of using it for its true purpose... boogies! haha
The lamp was a DI find, one small chip on the back of it that no one will ever see. I was so excited to find it for $2. The shade is from a Shopko clearance rack.
I use a pretty white dish I thrifted to display my jewelry and keep it in an easily accessible place. I let the pearls drape over the bowl to add a little bit of glam. Beneath it is a pretty doily I picked up at a garage sale.
This lovely dresser is a garage sale find. A woman was selling all of her Grandmother's furniture. I would have bought the whole lot if I had the money... it was all so beautiful. She had trunks and chairs and this beautiful vanity with a mirror that was so pretty. I left with this dresser, talking her down to only $35 because she needed to sell all her items. I was ecstatic. I painted it a creamy white, and left the top alone. I like the contrast and the distressed look it has. I love the original hardware and dovetail drawers.
The hassock is also a garage sale find. Underneath the cute polka dot fabric that I covered it with is a funky yellow vinyl. While I thought it looked pretty cool as was, I knew it wouldn't match my room so I took this pretty fabric and hot glued it around the bottom... cause who is going to tell a difference between that and a sewed cover? :)
This book page wreath adds texture and art to my room. I love it nestled right at the top of my old barn wood ladder. Do you want to make your own? They are so cheap and easy... find the TUTORIAL here.
I also use the ladder to display an old crocheted quilt if found over at Vintage Farm Furniture. I love it's beautiful scalloped edges. This adds a coziness to the room and also a fun texture.


This old gal was a hot deal I scored at a moving sale. It was $40 and lime green. Yep, the ugliest green you can imagine. I'm sure it looked cute in a child's room or something, but it wasn't going to last in my home that color. I saw its shape, hardware and legs and had to take it. I saw its potential. I started out painting it a creamy white (Ivory Palace from BEHR paint + primer) and painted the bottom. I wanted to sand down the top and stain it a walnut to match my other dresser in the room. As I started to sand it, the original owner's white primer showed through as the green faded away. I stopped and stepped back, admiring the distressed and uneven look of the sanded top. I couldn't do any more, I had never seen a unique look like this and I fell in love with it. Maybe it doesn't suit all tastes but I wouldn't change it now.
I ended up using a little stain to antique the drawers on the front. For now, it looks just how I like it.
A family member found me the old well bucket at an antique flea market sale. It's an old original bucket and a real treasure to me. You could use it for so many things, for now, its purpose is to hold all of my magazines that I have yet made time to drool over :)
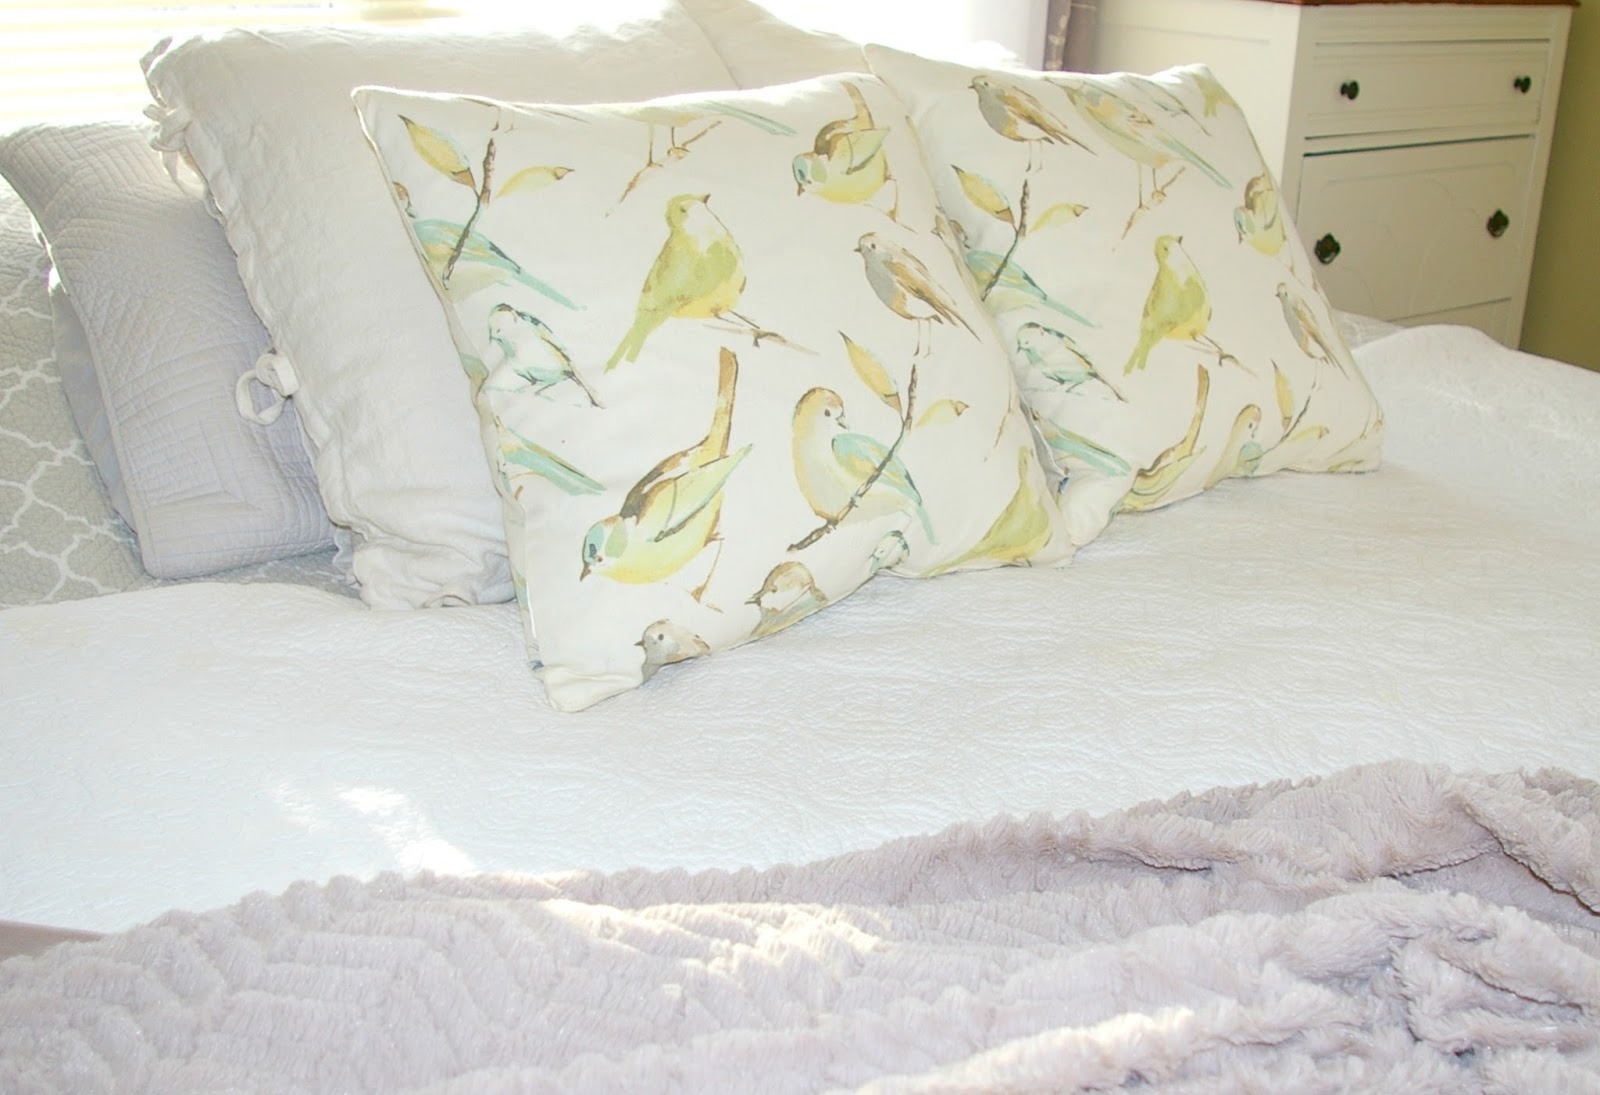
These pillows are from TJ MAXX I just love the birds. The fun thing about decorating in neutrals is that you can always swap out accessories (pillows blankets flowers curtains or lamps) for different colors each season or Holiday.
If you tend to change things around a lot (LIKE ME!) then stick to neutrals and change the pillows. You will be surprised at how much throw pillows and quilts can change the look of a room.
Bedding, TJ MAXX (all separate pieces found over time), all curtains found at ROSS stores.
 UPDATE! Want to see my latest bedroom décor and my new DIY headboard? Click Here




%20and%20Hidden%20Valley%20ranch%20powder!%20You%20will%20never%20go%20back%20to%20any%20other%20dip!%20)


.jpg)


share this post »