Saturday, March 2, 2013

Melt in your mouth Pot Roast

Beef Pot Roast- a Family favorite
 
I have recently done a post on "My take on a French dip sandwich", the beginning in which, is a great tutorial on how to get started on a pot roast. Go here to read it
 
After you get to the "adding it to the pot" come back here!
 

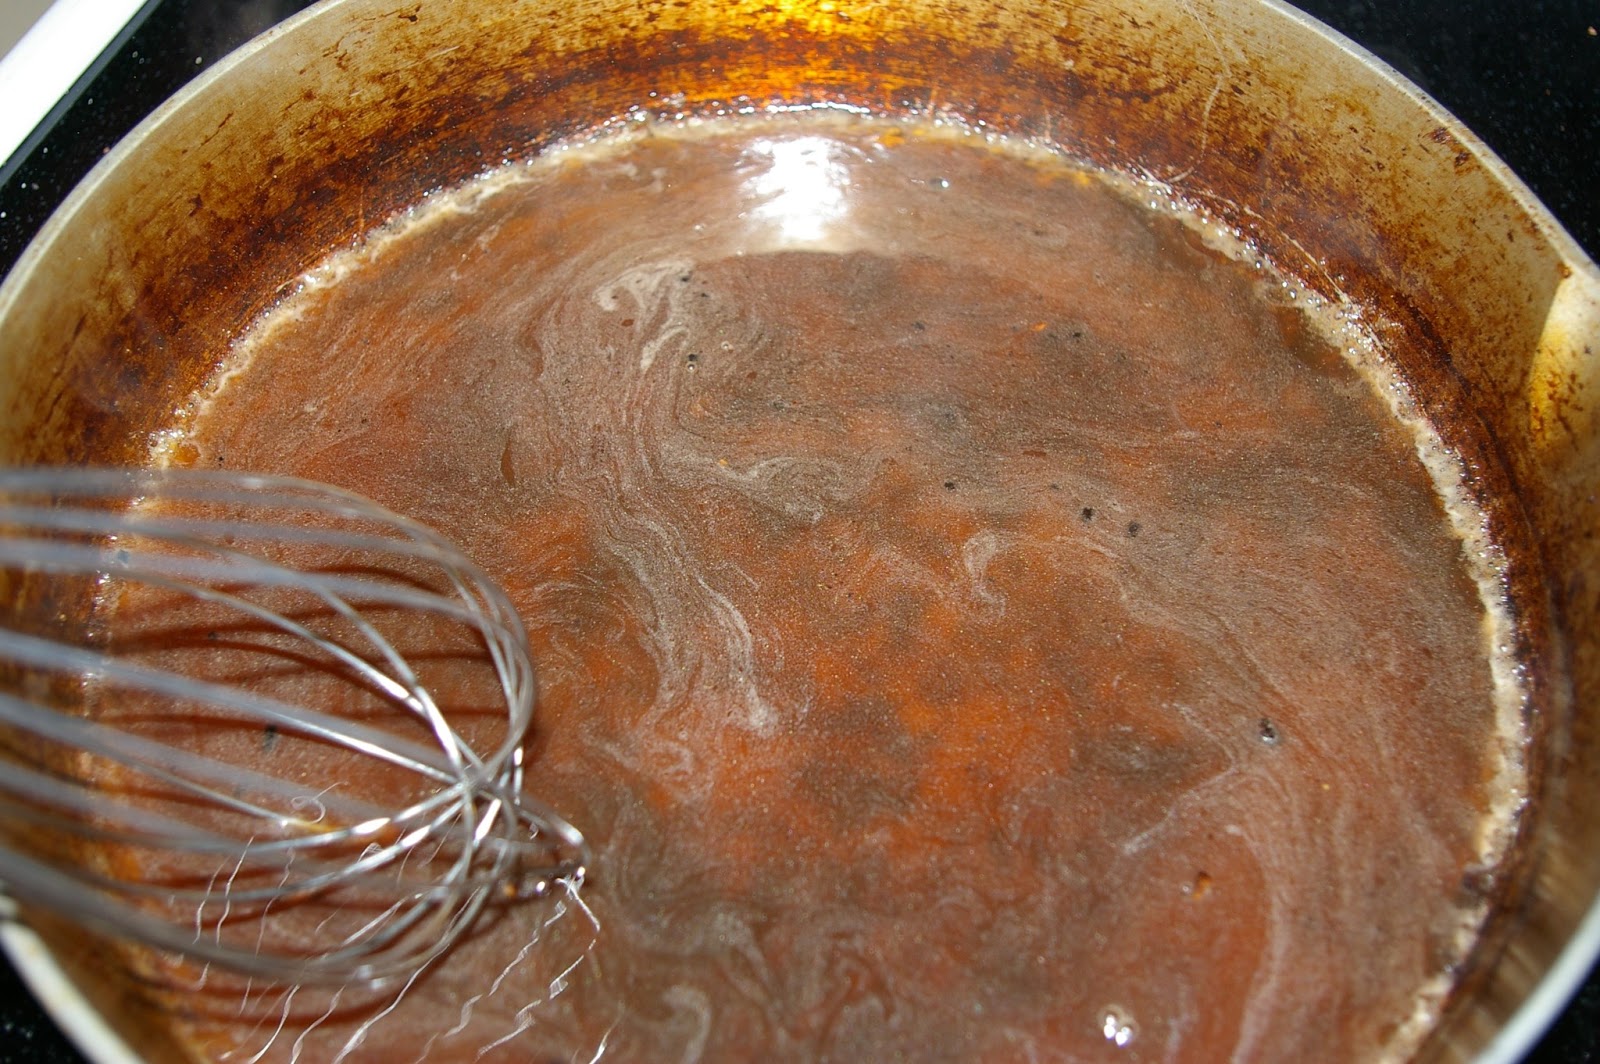
So you have seared your roast, sauteed your onions, added your beef broth and seasoned with salt and pepper. (I even like to add a few extra things like chopped garlic, or garlic powder, onion powder and/or fresh herbs) Don't be afraid to experiment, just watch the portions you are adding so nothing gets over-powering.

The most important key to getting this dish right is allowing enough time for the roast to cook. If you are at home and you don't have a crock pot, you can let this dish bake in the oven in a covered pot. 350 degrees for 4-6 hours should be golden.
Otherwise, I like to cook it in the crock pot because I can set it on low, and let that baby slow cook for 6-8 hours. When I worked full time a few years ago, I used to come home at lunch, prepare the meat, throw it in the pot, and them come home with sore feet at 6pm and walk into my kitchen smelling like absolute heaven. Talk about comfort food. The other thing I like about a crock pot is that it doesn't heat up your home like the oven. This is especially a good thing in the summer.

About 45 minutes to 1 hour before you are ready to eat/serve, slice up a couple of russet potatoes. My husband likes me to leave the skins on, and I think it adds a nice texture too. I also like to add baby carrots. If you want a more rustic looking dish, you can add the long garden carrots, chopped in half or thirds.

Add a little fresh parsley to freshen it up after cooking for so long, and serve up a nice helping of the veggies and fall apart roast. Add a little fresh salt and pepper on top, and a slice of homemade bread on the side if you have it.


 Last but not least, watch the smiles on your family's face as they devour this homey dish that is sure to please... and feel like superwoman because you are!
 
post signature


Friday, March 1, 2013

My take on the "French Dip sandwich"

I wanted to make a special dinner last night because I have been a bit lazy with my meals this week.
I went to my favorite butchery and snagged a really good looking Rump Roast.  Typically I have these in my freezer and just pull them out and toss them in the crock pot, but since this one was fresh, I wanted to sear it before adding it to the pot. 7 bone chuck Roast also works well with this dish.
 

I seasoned it with salt and pepper before adding it to a hot pan with a little extra virgin olive oil.


 After that baby is seared on all sides, remove it and add it to your crock pot.
Look at the BEAUTIFUL caramelization!
BUT WAIT!!
Before you throw that "dirty looking" pan in the sink.... let me tell you about a little hidden treasure.
The tiny bits of beef "crusties" that are stuck to the pan... These add amazing flavor if you take an extra minute to "deglaze" the pan and make a little sauce to add to the Roast.
 
HOW DO I "DEGLAZE" THE PAN you ask?
 
Simply add a little beef broth while it is still hot and use a wisk to scrape up all that compact flavor. You can also use Red Wine to do this to add whatever flavor you like.


After it boils and you feel like the beef bits have been scraped, turn off the heat and pour the sauce over your Roast. I also add the rest of the box of beef broth to the crock pot. You want the liquid to be at least 1/2 to 3/4 covering your meat.
 
.
 
Next cut up and onion and sauté it in the same pan that you used for the meat.
Just trying to save you a few dishes here!


Add it to your crockpot and turn that baby on high. Put on the lid and let that pot of love cook for 6 or more hours until you stab the meat and it falls of the fork because it is so tender.
I like to have it on high for the first three hours and then turn it to low for the last few so it cooks slower and just becomes melt in your mouth tender. If your going to be gone, just go with low for the entire time.
 
A few days ago I made some homemade bread and I put the extra loaf in the freezer. The best part of it is, when my husband comes home, he's going to think I have slaved all day over this meal, when in reality it took less than 20 minutes to prepare the beef in the crockpot and I am pulling out some beautiful bread to thaw.
 
 
  I'm super sneaky like that. :)
 
When the meat is ready, bread is thawed, Family is hungry...
Pull some of the meat out onto a plate and shred it up a little. You wont have to try very hard. Top it with a few of the onions and some cheese. I love swiss cheese the best, but I only had combo shredded cheddar tonight. I was still DELISH.
 
 
  Slice a piece of bread, and add a little butter and garlic bread seasoning. If you don't have this, just add garlic powder or a very light amount of garlic salt. Toast it in the pan, and construct your sandwich. DONT FORGET to put some of the beef au ju from the crock pot in a bowl to dip it in.


 This will serve several people, or be a great left over for the next day!
I hope you enjoy it! I was literally trying not to smile while eating it because it is so delicious and to me there is nothing better that home cookin' comfort food.
Happy cooking.
 
post signature


Tuesday, September 4, 2012

A tribute to fall and a top secret recipe


I love fall.  It is simply my favorite season... need I say why? Ok, ok, ill tell you.  There's something about the first crisp breeze that passes by you. A reminder that soon you wont be able to leave the house without your favorite sweater on. The air carries the scent of ripened fruit ready to be canned along with hay that has just been harvested. Its time to get the quilting frames out and make a freshly sewn warm blanky. It means that Sunday afternoons will soon be filled with long beautiful drives to see the changing colors of the trees, and looking forward to that huge slice of juicy peach pie.  Yes, these are just a few of the reasons that I. Love. Fall. :)

This brings me to the topic of comfort food.  Luckily, I was raised in a family with a Grandmother who happens to be an amazing chef, hidden in a tiny sweet grandmother body.  Now by Chef I do not mean she went to a prestigious culinary school, no, I mean this lady raised THREE hungry farm boys, that came home looking for good food every day.  Not to mention the string of dirt covered friends that followed into the house.  This lady had to learn how to cook.  She has always reminded me in my adult life, that if I had something good to eat in my kitchen, that's where people would gather.  That is where my children would bring their friends, and want to spend time.  Although my children are very young, I look so forward to having memories of our family surrounding the kitchen table with delicious recipes passed down from her.

I have found that every time I use one of her recipes, I think of her and it makes me so happy. Being a mother can be so consuming and take every last second of your time.  I am finding that this is the way that it should be, but I also love to find a few extra minutes for myself to do things that I love and that help ME grow.  When I am cooking, I lose my worry, my stress, and the weight of the day because my mind is so busy doing something so wonderful that nothing matters for a little while.

 
Now lets get down to business.  I want to share this recipe and share some of the tips that I have learned over the few times that I have made it. First of all, If you are new to cooking then listen up.  Don't pass this by because you don't think that you can do it. Everyone has to start somewhere, and guess what?  All of us have thrown a pie crust or two in the trash and shed a few tears over the first couple that didn't turn out just perfect.  I remember the first time I called my Grandma to tell her that my crust was stuck to the counter and too soft to put on the top of the pie.  She told me that she had thrown her fair share in the garbage, and suddenly I felt so much better. Next, take the time to let your ingredients rest.  By this I mean, try to always use room temperature eggs when you bake, and don't ever be in a huge rush to get this done.  If you are, something will almost always go wrong.  I can seriously, seriously tell you that there is truth into putting LOVE into your dishes.  Taking the time to baby them a little and not rush things, literally makes things blend together better and look so much more beautiful in the end. :) It's true.

Recipe:
2 1/2 cups Flour
1 cup Crisco shortening
1 teaspoon salt
Cut together with a fork or pastry cutter a little before adding
7-7 1/2 Tablespoons ice cold water (depending on how dry the air is)


Squish together with your hands and form into two balls. One will be about 3 quarters for the bottom of the dough and the other quarter for your top.
Toss a little flour on the counter and roll your bigger ball. Once it is about 1/4" thin, take a little flour and sprinkle it on the top. Take your rolling pin and roll the dough on to the rolling pin. Then hold it over your pie dish and unroll the dough. This is the best way I have found so that you don't tear your dough while transferring it.

Add filling inside the pie and then roll your quarter top ball. Add the dough the same way with your rolling pin. Take a butter knife and trim the edges. You can use a fork around the edge or make a fluted edge.

Peach Pie:
Depending on what size of pie dish you use, it will change the amount of peaches.
For a 10" pie dish : 4 cups sliced fresh peaches
For a 9-9.5 pie dish- 3- 31/2 cups sliced peaches
Note: Fresh peaches are always best, sometimes I use frozen but make sure that they are thawed before you bake the pie.
1/2 cup Heavy cream (the good stuff)
3/4 cup of sugar (if you are using the 4 cups) less for a smaller amount. Just play with it.
3 rounded tablespoons of Kraft minute tapioca
1 egg beaten (room temperature if possible) 
Mix this filling together and let it "rest" while you make your pie crust.
Make extra sure that you incorporate the egg well, the first time I made the pie, I didnt stir it well enough and I actually had scrambled egg at the top of the pie.  Awesome :(

Make sure and make two or three "vents" (small slices in the top dough)  if you do a full crust top, and brush a little egg wash or cream and sugar on top so that it browns nicely.

Bake at 375 for 1 hr or until golden brown on top and sides.  Serve warm, or let cool to room temp and put in the fridge to chill for a few hrs. (Cold is how I like it best, and it also holds together better when slicing)


Blogging tips