Friday, May 30, 2014

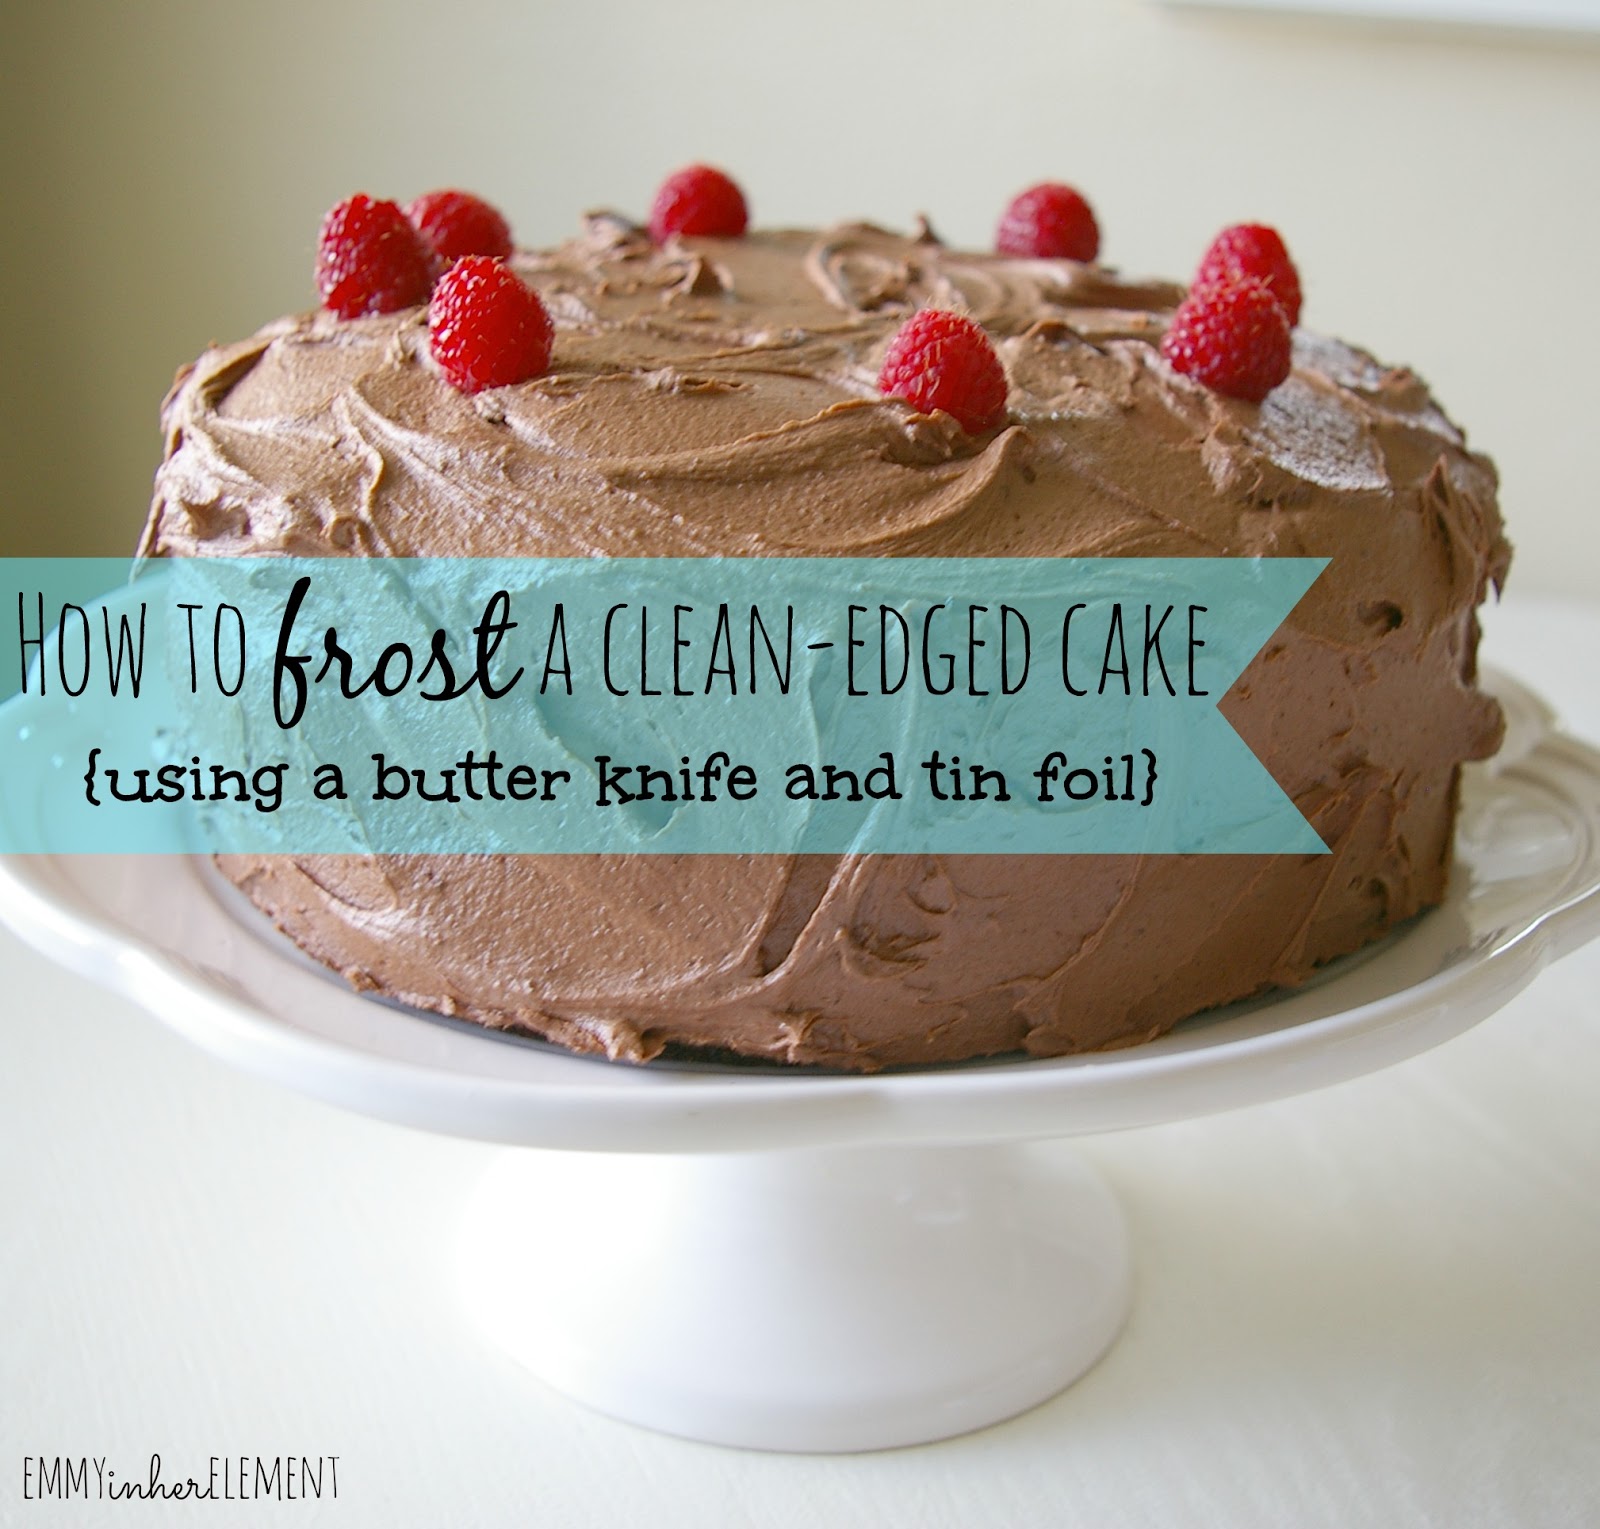
How to frost a beautiful cake with a butter knife and tin foil


Ready to ditch the piping bags, fancy cake frosting equipment and sprinkles? Today I'm going to show you a quick and easy way to frost a simple but beautiful cake with just a butter knife and some tin foil. You can use wax paper too. In no time flat you will have a dessert that looks as pretty as it tastes!
 
My first tip for frosting a perfect cake, is to make your cake ahead and freeze it. The cake will stay fresh in the freezer, and when you are ready to frost it, just pull it out and you're all ready to go. Freezing the cake makes it super easy to frost without getting those little cake crumbs smeared all around in the pretty frosting. If you don't have time to freeze ahead, you can still use this process you will just have to be a little more careful as you frost not to dig up the cake.
 
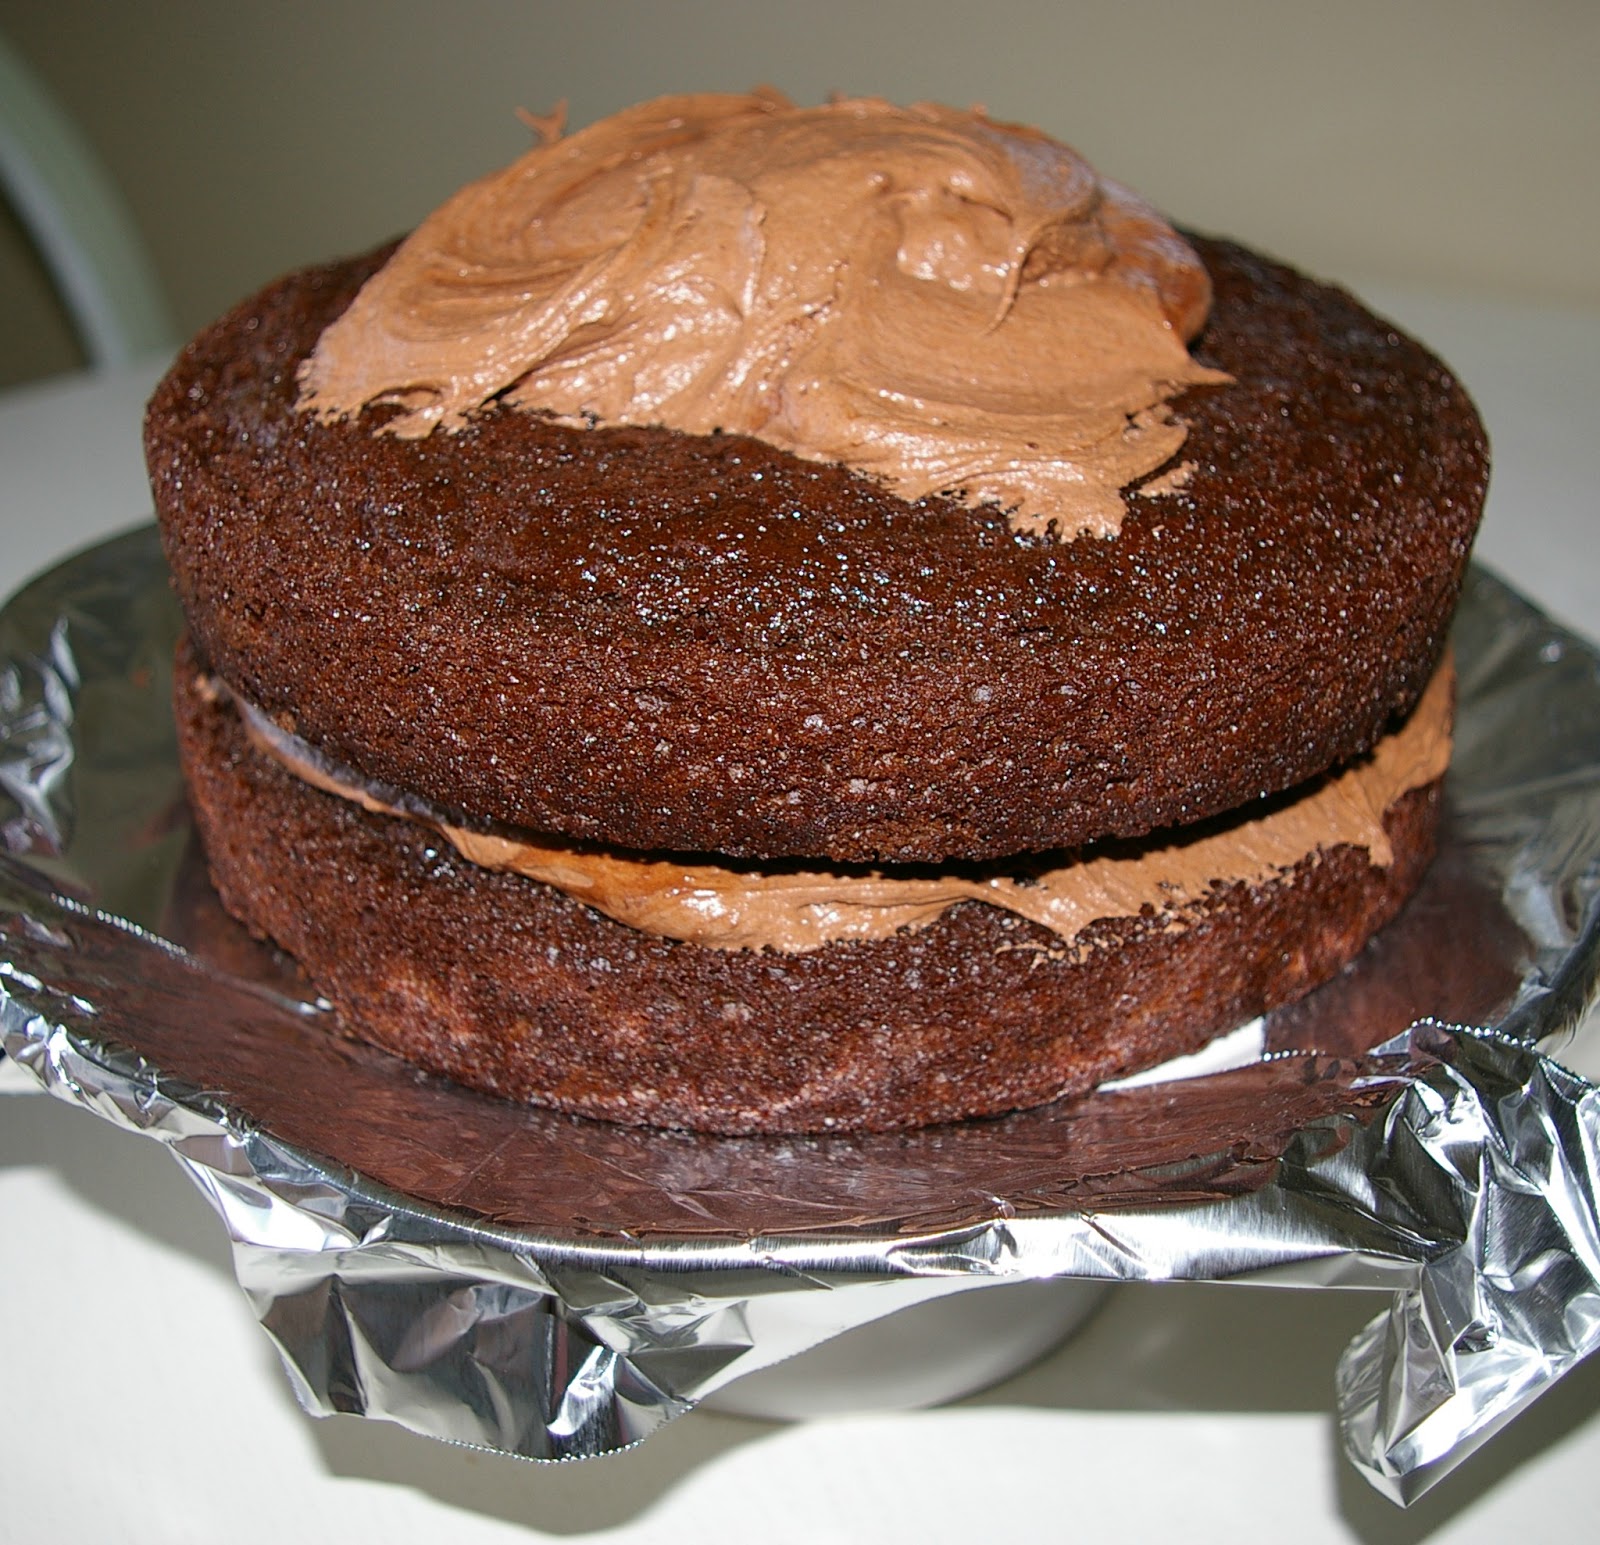
Next step, use a little tin foil or wax paper and rip off four pieces. I liked using tin foil because I folded it down over the edges so it would stay put. You want to keep it close to the edges because we are going to pull these off after we frost our cake.


Next, place your first layer of cake on the pan. Plop the frosting in the top center and spread it around the top of the cake leaving 1/2 inch border. This will leave a little space for when you top the cake with the next layer and the frosting "squishes" a little.


The next important tip for cake frosting is to make sure and frost from the TOP down. That means you only want to add more frosting to the very top of the cake, and use your knife to spread it down to the bottom in small circular motions.

 
Now that the cake is fully covered, we are going to make small circular motions all over the cake to fancy it up a bit. Just use your butter knife. It doesn't have any rhyme or reason, just random circles to make a beautiful cake.

 
Slowly and carefully pull/shake your tin pieces out from under the cake.

 
I topped mine with fresh raspberries for a pop of color and simplicity. Cherry's would be gorgeous too for a more vintage look.


Now go impress your guests with your no mess cake!
 
 
post signature

Wednesday, May 28, 2014

Bedroom Decorating tricks {on a dime!}

Today I wanted to share photos from the master bedroom of my small home. I have been hesitant to share pictures of my humble home because well, it's not exactly as beautiful and perfect as some of the other home tours you will find on Pinterest. But, with a lot of work, thrifting and hand made items, I have been able to transform my space into a comfortable and cozy haven with a touch of farmhouse charm. I have had to do it all on a dime, so I will share with you where I purchased a lot of my décor and furniture pieces.
 
Living in an older home comes with good and bad all in one.
 
The pros in this space?
1. Gorgeous wood floors. {ahhhh}
2. Large windows that let the sunshine light up my room in the afternoon through the evening. -Wonderful-
 
The cons?
1. Very small room, my King Size bed takes up most all of the space.
2. Hardly any closet space. A his and hers closet measuring only 3 feet in width. You know what this means right...? Both sides are mine :)
 
Here are a few tricks for making the most of the small space...
 
-Adding mirrors to a room gives it fluidity and makes it feel bigger because rather then seeing just wall space, your eyes see into the reflection making the space seem larger.
 
-Using light colors vs. dark paint and bedding can always add visual space to a room. The darker the paint on the walls, the more closed in and smaller it will become visually. I chose taupe's and whites for this room to help it feel more open and airy, although now that the gray trend is in, I would love to paint this room a very light gray color. Seems like there is always something to change isn't there?
 

Honestly, these hydrangeas were the most expensive decor item in the room. I have collected these for months when they go on sale at Joanne's Fabric. I love how they all look together in the basket. The handkerchief was a gift to me from a family member. I love its hand stitched tatting and intricate detail. I knew I would display it instead of using it for its true purpose... boogies! haha 


The lamp was a DI find, one small chip on the back of it that no one will ever see. I was so excited to find it for $2. The shade is from a Shopko clearance rack.
 
I use a pretty white dish I thrifted to display my jewelry and keep it in an easily accessible place. I let the pearls drape over the bowl to add a little bit of glam. Beneath it is a pretty doily I picked up at a garage sale.

 
This lovely dresser is a garage sale find. A woman was selling all of her Grandmother's furniture. I would have bought the whole lot if I had the money... it was all so beautiful. She had trunks and chairs and this beautiful vanity with a mirror that was so pretty. I left with this dresser, talking her down to only $35 because she needed to sell all her items. I was ecstatic. I painted it a creamy white, and left the top alone. I like the contrast and the distressed look it has. I love the original hardware and dovetail drawers.
 
The hassock is also a garage sale find. Underneath the cute polka dot fabric that I covered it with is a funky yellow vinyl. While I thought it looked pretty cool as was, I knew it wouldn't match my room so I took this pretty fabric and hot glued it around the bottom... cause who is going to tell a difference between that and a sewed cover? :)
 
 
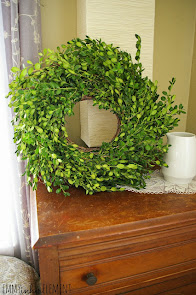
This book page wreath adds texture and art to my room. I love it nestled right at the top of my old barn wood ladder. Do you want to make your own? They are so cheap and easy... find the TUTORIAL here.


I also use the ladder to display an old crocheted quilt if found over at Vintage Farm Furniture. I love it's beautiful scalloped edges. This adds a coziness to the room and also a fun texture.


This old gal was a hot deal I scored at a moving sale. It was  $40 and lime green. Yep, the ugliest green you can imagine. I'm sure it looked cute in a child's room or something, but it wasn't going to last in my home that color. I saw its shape, hardware and legs and had to take it. I saw its potential. I started out painting it a creamy white (Ivory Palace from BEHR paint + primer) and painted the bottom. I wanted to sand down the top and stain it a walnut to match my other dresser in the room. As I started to sand it, the original owner's white primer showed through as the green faded away. I stopped and stepped back, admiring the distressed and uneven look of the sanded top. I couldn't do any more, I had never seen a unique look like this and I fell in love with it. Maybe it doesn't suit all tastes but I wouldn't change it now.
I ended up using a little stain to antique the drawers on the front. For now, it looks just how I like it.
 
A family member found me the old well bucket at an antique flea market sale. It's an old original bucket and a real treasure to me. You could use it for so many things, for now, its purpose is to hold all of my magazines that I have yet made time to drool over :)

 
These pillows are from TJ MAXX I just love the birds. The fun thing about decorating in neutrals is that you can always swap out accessories (pillows blankets flowers curtains or lamps) for different colors each season or Holiday.
 If you tend to change things around a lot (LIKE ME!) then stick to neutrals and change the pillows. You will be surprised at how much throw pillows and quilts can change the look of a room.


Bedding, TJ MAXX (all separate pieces found over time), all curtains found at ROSS stores.


UPDATE! Want to see my latest bedroom décor and my new DIY headboard? Click Here
 
post signature

Sunday, May 25, 2014

Cheddar bacon vegetable dip

I love making beautiful food. What I love even more than that, is sharing it. I remember when I was little, my family loved watching the Utah Jazz play. I would always be in the kitchen slicing and dicing and making some kind of snack for us to enjoy during the game...for me, that was the best part of it. I would spend so much time placing the fruit on the dish in a way that the brightest colors played off of each other and so it looked as pretty as it tasted.
I guess I have never outgrown that passion, and even today I love adding creativity and art to my makes.
Today I am sharing our family's very favorite veggie/cracker dip. It was passed down from my Grandma, she used to make it every holiday we would spend together. It is so packed with flavor and SOOO delicious. I promise you will never make anything but this for your next veggie platter. This dip is also an amazing baked potato topper or dip for hot wings.
 You are going to love it!
 
 
Recipe: Cheddar bacon veggie dip
Recipe source: Emmy in her Element
 
1 pound 16 oz sour cream (we like daisy)
1 tablespoon plus 1 teaspoon Hidden Valley Ranch packet powder
1/4 cup Hormel bacon bits
1 1/2 cups medium or sharp cheddar cheese
3/4-1 teaspoon creamy horseradish (you can start out small and add more if you like the bold flavor!)
 
Mix ingredients together and serve with vegetables, crackers, pretzels, or on a baked potato as a topper. Keep chilled.
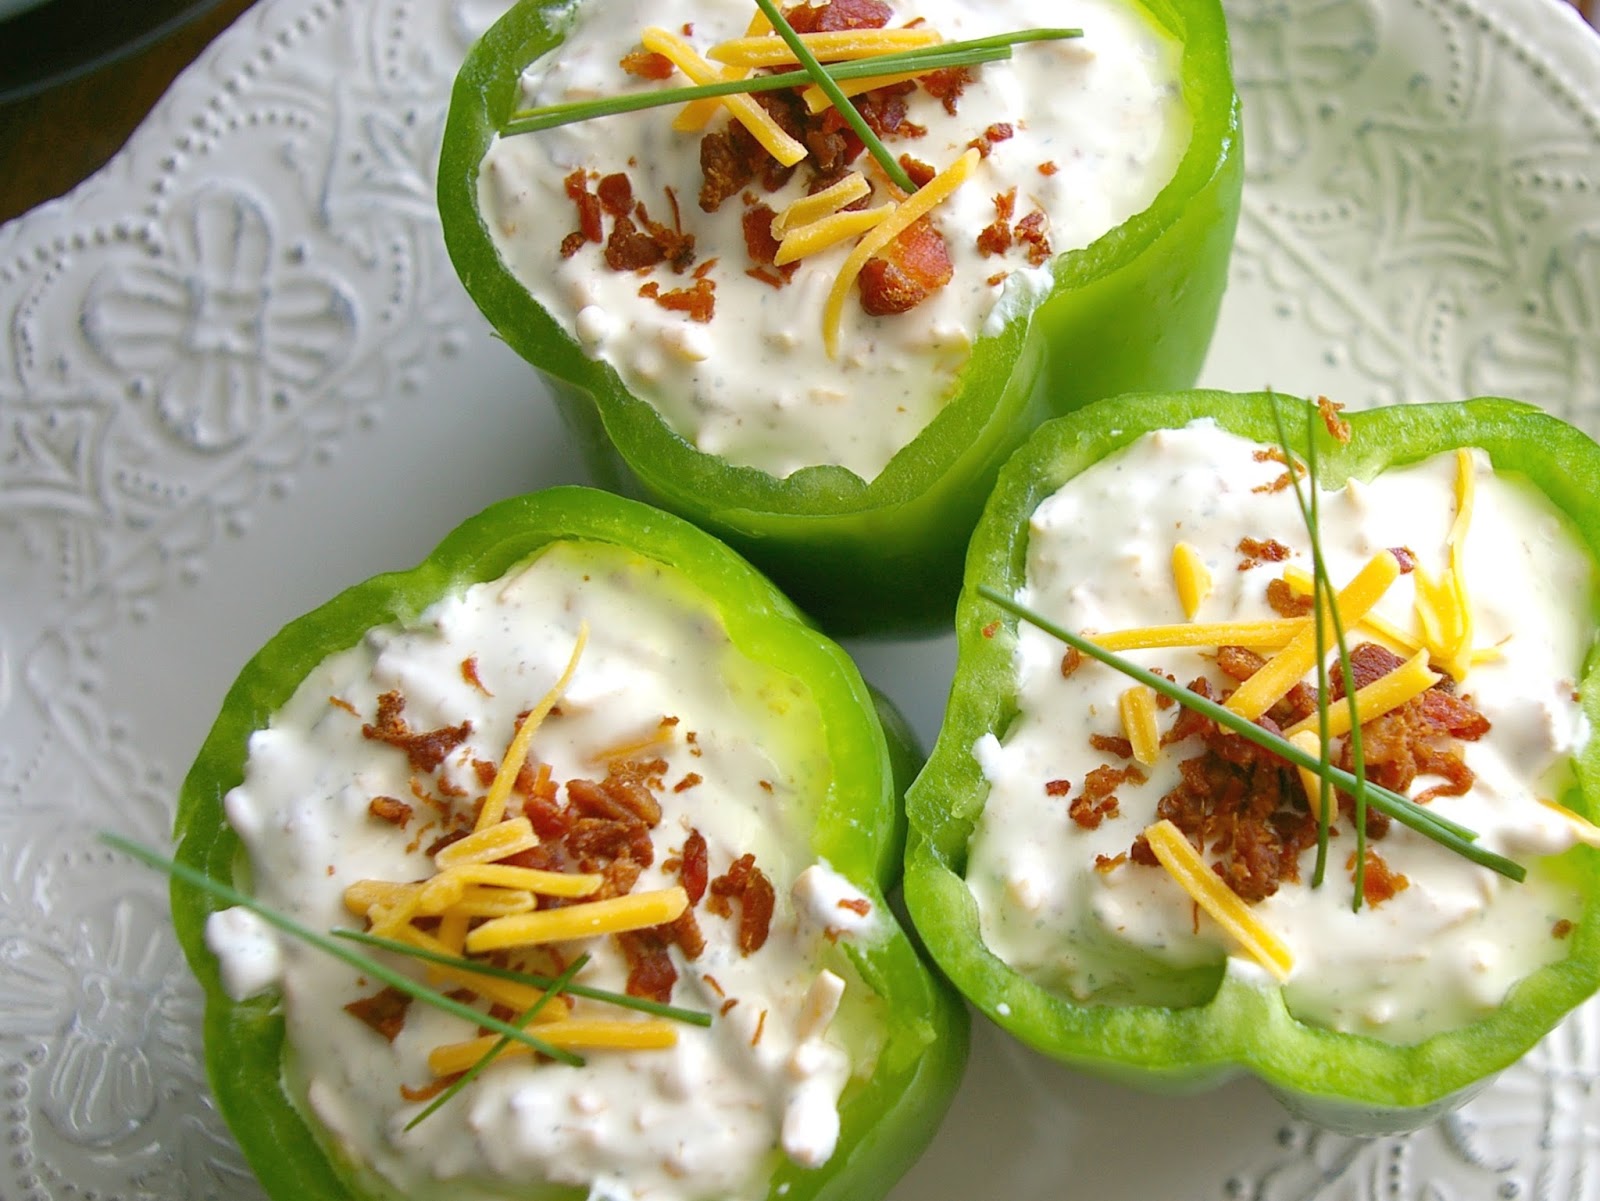
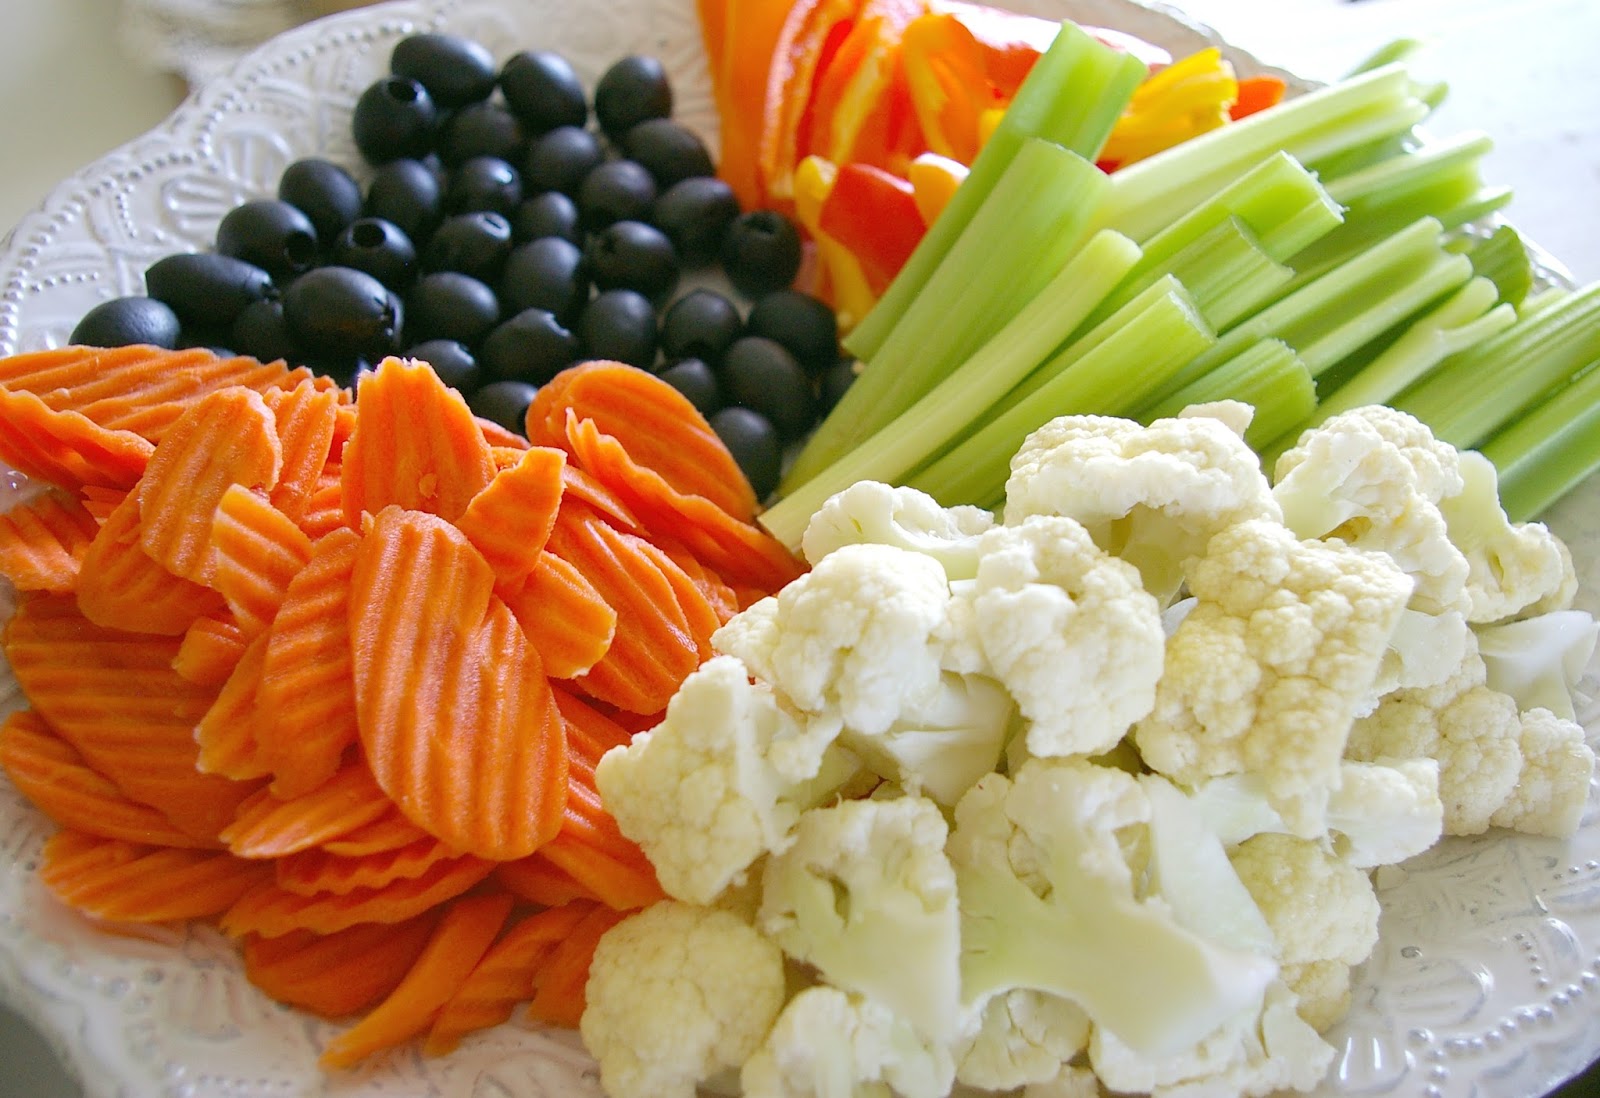
** Note: I served my dip today in 3 hollowed out green peppers just too add some creativity. I added a little bacon, cheese and chive straws from my HERB GARDEN on top for garnish. My veggie platter consists of cauliflower, sweet peppers, olives, celery and carrots. If you are making this for a large crowd, you can double the recipe for dip and serve it in a hollowed out eggplant to look pretty!
 
 
post signature

Friday, May 23, 2014

DIY herb garden in an old wine barrel

This summer I have been really wanting to learn more about using fresh herbs in my cooking. There are a lot of health benefits and it is so fun to be able to use fresh herbs in your dinners, drinks, or other things such as my rosemary and olive oil roasted vegetables or my rosemary compound butter to add on top of your home grilled steaks... this stuff is so amazing and will make your steaks go from good, to over the moon fancy-shmancy high quality restaurant style... uh yeah, it's that delicious!
 
I found this old wine barrel and for a while I thought I would use it for flowers but then had a stroke of genius and thought it would be perfect for an herb garden. I bought some potting soil, some rosemary, thyme, basal, and chives. Now that it's finished, I think I will go back for some mint and oregano as well. This pot is right outside my kitchen, so I am always trying to think of ways and I can sneak out there while I am cooking dinner, and snip a few herbs to add in.
After I planted the herbs I felt like I wanted to cutesy it up a little so I took some cream colored toll paint and painted the words "fresh herbs"... I thought it looked adorable until my husband came home and made fun of me for making something look like I was growing marijuana. Awesome.
As it turns out, I still love it and Im keeping it just how it is!
I took some sand paper and roughed it up a bit to help the letters match the old worn barnwood look of the barrel.
My kids love going out and helping water our little herb garden every day. I would highly recommend making yourself one!
NOTE: you can certainly buy fresh herbs in the grocery store, but the are usually pretty expensive. Planting your own gives you the option of using them whenever you want, freezing or drying them for out of season use, and getting them for much much cheaper!
 
Here is a pic I snapped of the barrel before I painted the lettering.
  
 
... and after the sanding...


Rosemary compound butter


Rosemary and olive oil roasted vegetables
 
post signature

Wednesday, May 21, 2014

Delicious Pulled Pork for Parties and what to do with the leftovers

As you have previously read, I am the proud wife of a shiny new graduate. Along with all of the stress of the last few weeks, we have enjoyed a spending time with old friends and many family members to celebrate our new Engineer.
I have been keeping track of a lot of the recipes from the parties we have had, and I can't wait to share them with you!
This recipe is my Mom's and it is truly delicious. I love it so much because you can make it a day ahead, and you can change the homemade sauce a little here and there to your liking. Add a bold spice, or some extra brown sugar to make it sweeter... it's up to you to make it your own, but our family LOVES this recipe. I am sharing the large amounts we made so that you can use this for a party. Obviously you can cut the recipe down if you are just making it for your family. This pork freezes very well and if you want, you can just make the larger amount and save a portion in the freezer for another night!
I will also share an idea on how to use the leftovers if you have any.
 
 
Mom's Homemade BBQ pulled pork:
{Meat}
Pork Cushion roast (this has a little more fat than tenderloin and will be more flavorful)
Roast Pork in a roasting pan at 350 degrees for about an hour per pound of meat or until you can shred the meat very easily. For 20 pounds it took about 5-6 hours. Do not add any water to the meat, as it cooks it will create its own juices and brown a little on top. You can sprinkle the roasts with salt and pepper if desired. Shred the meat by taking two forks and separating. Remove any strings of fat from the shredded meat and toss.
Once meat has been shredded, add homemade sauce and heat in crockpot or in a heavy pot with a lid until heated through and ready to serve.
 
{Homemade Sauce}
**FOR EVERY 5 POUNDS OF PORK CUSHION USE THIS AMOUNT OF SAUCE*
1 30 ounce can of tomato sauce
1/8-1/4 cup brown sugar depending on your desired sweetness
1 tablespoon Worcestershire sauce
2 tablespoons rehydrated minced dry onions
1 teaspoon ground mustard powder
1 teaspoon garlic salt
1/2 teaspoon onion salt
1 cup Sweet Baby Rays "Sweet and Spicy" BBQ sauce
 
Important notes: I used about 20 pounds of meat to feed 50 people and had a little bit left over. We made pulled pork sandwiches on parker house dinner rolls.  My mom mentioned to me that while she did quadruple the amount of sauce to mix with the meat, she didn't have to add quadruple the amount of the spices. They stayed pretty strong even when she added more tomato sauce and BBQ sauce to make a larger amount. I would say once you have made the base sauce, if you need to double, triple or quadruple the sauce amount, just start by adding more tomato sauce, BBQ sauce, Worcestershire and sugar, and then add the spices little by little from there until you get your desired flavor. THIS SAUCE IS GLUTEN FREE just make sure if you use a different brand of BBQ to check the label for gluten free if you are making it for a friend or family member with Celiac disease.
If you make this pork and freeze it, you will likely need to make more sauce to add to the pork as it will absorb most of the sauce as it freezes.

We served this pulled pork to our guests on Parker House dinner rolls. You could also slice a large loaf of French bread and add the meat to it, and slice into sandwiches. Another option would be to use this pork on a salad or in a Mexican dish... all delicious!
 
I hope you try and love this recipe like we do. After our afternoon party, we had our friends come back to our house for a backyard fire and marshmallow roasting. I ended up heating up the left over pork and serving it on buns at 11:30pm to our friends around the camp fire. It was so much fun and they tasted so delicious!
 
If you need another idea for your left overs...
I made a delicious Grilled Swiss cheese and pulled pork sandwich... kind of the "fanciest" version of a grilled cheese possible.. and it was sooo tasty.
 
 
Recipe:
Bread of your choice
Garlic powder
Swiss cheese
Left over pulled pork
Room temperature butter for spreading
 
Take two slices of bread (I used bran bread) and spread lightly with butter. Sprinkle lightly with garlic powder on one slice of bread. Place into a fry pan on low to medium heat. Top with Jarlsberg Swiss cheese slices, and some of the warmed up left over pulled pork. Then add your second slice of bread on top. Let the bread grill until golden brow, then flip to brown the other side. The Swiss cheese should be melty over the pork. Let cool for a minute or two and SCARF IT UP!
post signature

Monday, May 5, 2014

Family favorite Pasta Salad


LAST POST I promised to share a few recipes I used at a recent baby shower I threw for my friend. This pasta salad has been a recipe my mom made growing up, and after I got married I tried my Mother in Law's version as well. I took it upon myself to combine ideas from the two, and I am really happy with the end result!
This salad can be made with variations, adding or substituting as you please... the flavors are bright and fresh, and it can be made ahead of time for early and easy preparation.
 
Recipe: Family Favorite Pasta salad
Recipe source: Emmy in her Element
 
1 Box Rotini pasta
6 cheese sticks cut into 1/4"thick slices
3/4 cup purple chopped purple onion
1 cucumber peeled and cut into bite sized chunks
1 cup cheery tomatoes sliced in half or thirds
1 cup blanched broccoli chopped
1 2.25 oz can sliced black olives.
1 bottle Italian Dressing
1-2 tablespoons Jonny's salad essence seasoning
 
Garnish:
Toothpicks
cherry tomatoes
string cheese slices
sliced crostini bread or bagel chips
 
Boil Pasta as directed. Do not over cook as the pasta will soak in some of the dressing. Drain and cool in the refrigerator. Cut veggies and cheese, and set aside. Flash boil the broccoli for just a few minutes to lightly soften. Do not over cook. Immediately remove and add to an ice bath or rinse in cold water to stop the cooking process. Cool broccoli in the refrigerator. Once pasta has cooled, add veggies, olives, cheese, salad essence and stir in about 3/4 of the bottle of Italian Dressing. Mix together and let cool together in the fridge. After a few hours, add a little more dressing as the pasta will soak a little of it up as it cools.
For my party, a fun way I found to dish up the salad was to add it to clear cups and add a garnish on the top. I made this by taking a tooth pick and adding 1 whole cherry tomato and a slice of mozzarella cheese. Right next to it I added a bagel chip, I also think a slice of crostini bread would be perfection.
This was easy to make ahead of time and chill until my guests arrived.
 
 
 You could also add pepperoni, or use different kinds of pasta for this salad. I have had it made with tri-colored pasta, spaghetti noodles, or bowtie. You could also use different vegetables, let your imagination take over!
 
post signature
 
Blogging tips