Showing posts with label Desserts. Show all posts

Tuesday, March 29, 2016

Strawberry cheesecake-pie

Is there such a thing as a cheesecake-pie?? Last weekend I made a fresh strawberry pie for Easter dessert. During the process of mixing the strawberries in this wonderful sweet strawberry glaze, I realized that the pie would be so much tastier with a cream-cheesy layer to add a cheesecake like element. I can't fully call this a cheesecake or a strawberry pie alone because of the portions of both the cream filling and the strawberry filling.
With a little experimentation and thumbs up from my best and most honest taste tester husband, I give to you a very simple but sweet and delicious (Griswold drumroll please)... Strawberry cheesecake-pie.
 
 
Strawberry cheesecake-pie
Recipe source: Emmy in her Element
 
Ingredients:
{crust}
1 1/4 cup graham cracker crumbs
1/3 cup melted butter
1/4 cup sugar
 
Mix together and press into 9" pie dish. Bake in 375 degree oven for 6-8 minutes or until set and golden. Watch closely, this can burn! Let cool until room temp or cool in refrigerator before spreading cream filling.
 
{cream filling}
8 oz room temperature cream cheese
3 heaping tablespoons powdered sugar
1 cup whipped cream (I mixed up some heavy cream homemade and just whipped this up very first)
 
Beat whipped cream until stiff peaks form. Set aside.
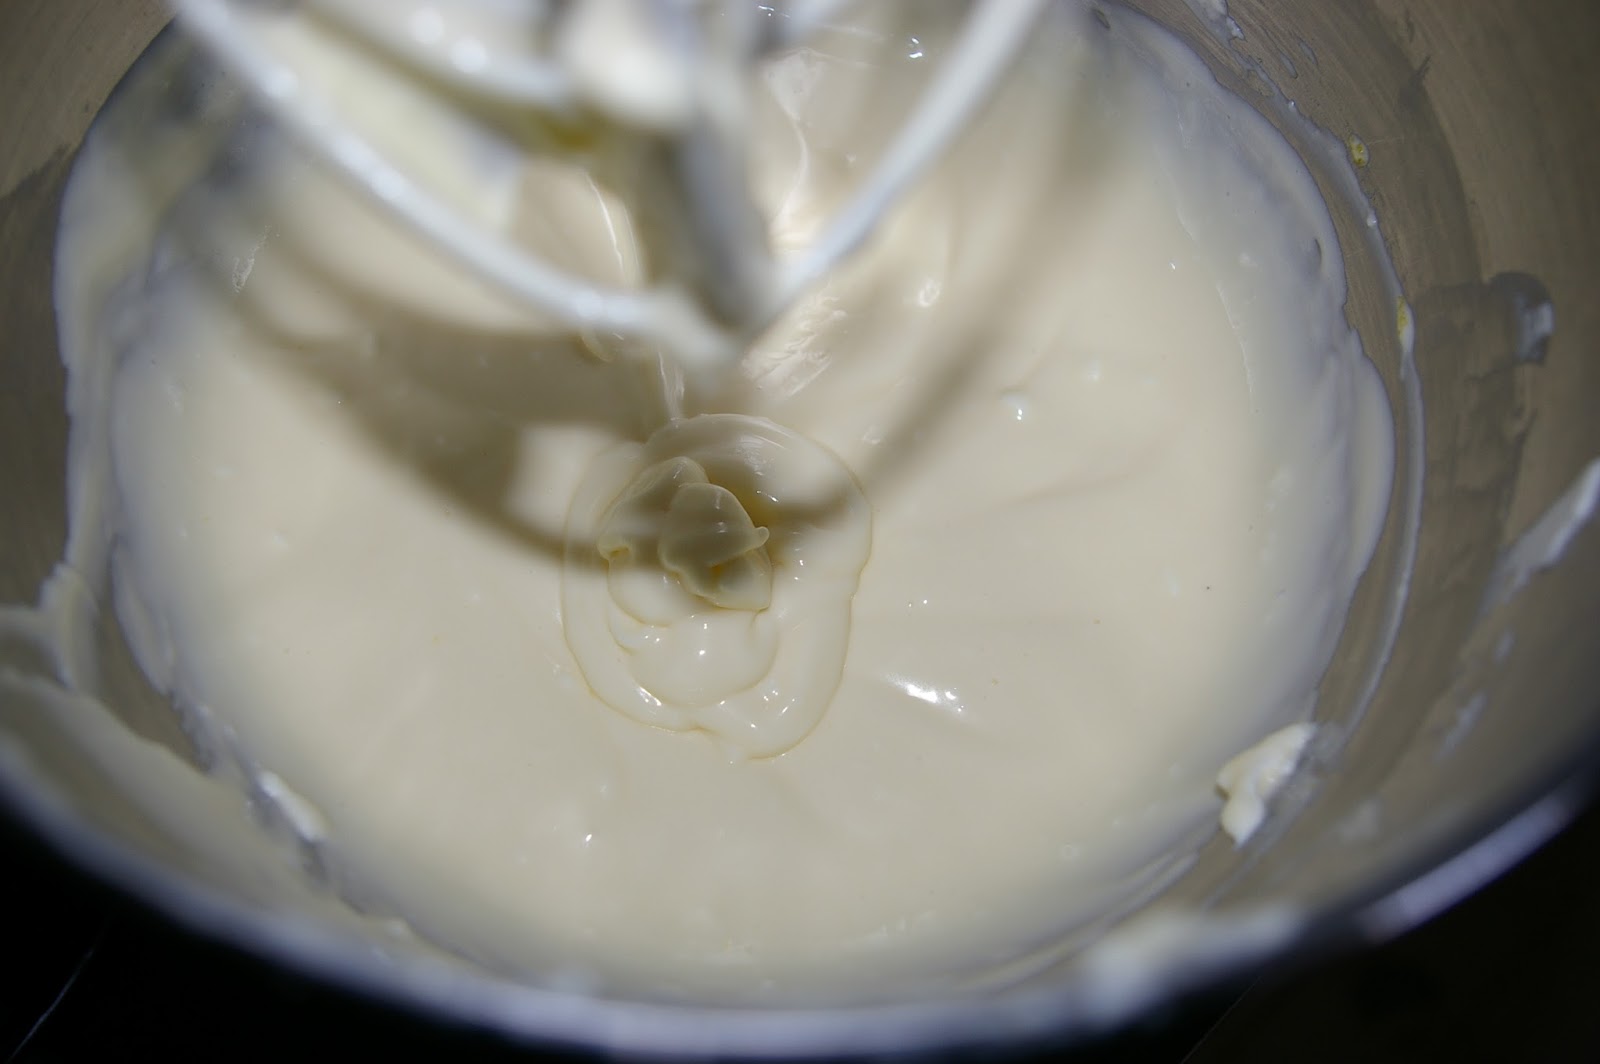
Beat cream cheese and sugar until smooth. Gently fold in heavy cream until incorporated.
Spread into cooled graham cracker crust about 1/2" in thickness.
 
{Strawberry topping} 
1 box strawberry junket Danish Dessert.
2-3 cups fresh chopped strawberries (more or less depending on how high you want to pile them, yum!)
 
Follow directions on Danish dessert filling (the box calls to mix the powder with 1 3/4 cup water, I took out 2 tablespoons water and replaced it with 2 tablespoons lemon juice to add tartness). Let cool slightly before mixing strawberries into the glaze.
 
Assemble pie by baking crust, letting cool and then spreading with cream filling and topping with deliciously glazed fresh strawberries (make sure this is cool enough it wont melt your cream filling). Let this pie have 2-3 hours to set in the fridge before its ready to eat.  I like to add fresh whipped cream on the pie right before serving.


I had extra filling so I made some mini pies to take and share as well. Wouldn't these mini's be so fun for a birthday party or shower?


post signature

Sunday, May 31, 2015

5 minute afternoon s'mores

Can we officially call it summer? It has been raining a lot and I don't know about you, but I have the camping BLUES!
One of my favorite summer night activities has to be sitting around the camp fire with family and friends and enjoying a good old fashioned s'more.
 
This afternoon I was craving them so bad so I had to whip up a quick batch! Here is my recipe for 5 minute oven s'mores, in case you don't have a blazing fire handy. (Insert wink here).


Monday, May 18, 2015

Raspberry rhubarb delight

Comfort food at it's finest, with a twist. My original rhubarb crisp recipe is from my Grandma, the flavors are tart with a sweet crispy crunch from the oat and brown sugar topping.
I planned to make this recipe for my brother on his birthday, but when I noticed I was out of a few of the ingredients, I improvised and realized that I loved the result so much I had to document it! 
If you have some guests coming for dinner, this dessert is a sure crowd pleaser.
It was a special compliment to me when my brother walked in and said "Hmmmm it smells so good in here Em, it smells like Grandma's house"...

Friday, May 8, 2015

Rosemary and Lemon cream scones

These scones are delightful! After making two batches this week and sharing with friends, I knew I wanted to document this gem of a recipe and share with you!
Hope you enjoy them as much as I did.

Friday, April 3, 2015

No bake carrot pudding pots


These little nuggets of fun are perfect for a quick treat or spring dessert. Kids can help make them and they are sure to be a hit!

Tuesday, February 10, 2015

Sweet cherry Pocket Pies


Recipe: Sweet cherry pocket pies
Recipe source: Emmy in her Element
 
What you'll need:
1 can cherry pie filling
1 batch homemade pie dough or store bought dough
{For homemade dough you will need: 2/12 cups all purpose flour, 1 cup Crisco shortening, 1 teaspoon salt, and about 8 tablespoons ice water}
1 beaten egg
 
A heart shaped cookie cutter
 

Monday, February 2, 2015

Luscious Layer Bars


Want to know what treat I have been making lately that I can't keep my hands off of? These delicious layer cookie bars that are full of chewy sweet addictive flavors! I mean, anything with chocolate, butterscotch and a sweet caramel topping can't be bad right?
These are super easy to make, and sure to gobbled up at any party or event you take them to.
 

Wednesday, January 7, 2015

Vanilla cranberry layer cake with orange buttercream


There are no words to describe my love for this cake, so I'm not going to try. I selfishly thought about keeping it to myself (especially after creating a creamy frosting that tastes just like an orange creamsicle) but thanks to your encouragement on my instagram account, I decided it is too special to hide away.
 
I hope you will try this recipe, it may look intimidating but it really isn't hard. Just a few steps to put together this towering beauty!
 

Wednesday, December 31, 2014

New Year's Eve 2014


It's New Years Eve and I'll bet you have a party to attend this evening. If you need an easy fancy looking dessert idea to take along, look to further.
I am making this recipe semi-homemade so that we can shorten baking time, but not compromise on that baked-from-scratch flavor.
 
Ill walk you through step by step to help you get that perfect look for your New Years Eve bash.
 

Wednesday, October 29, 2014

Easy and quick MONSTER cupcakes


Do you need a super fast and easy treat to take to your Halloween party?
Here is an idea for you! I whipped these up with my kids today and they had so much fun putting the "eyeballs" on the monsters.
If you need a tasty homemade frosting recipe GO HERE, and if you want to try some cute confetti cupcakes GO HERE.
 
What you will need for  3 eyed Monster Cupcakes:
Cupcakes with paper liners
Frosting
candy eyes
zip lock bag
frosting star tip

Tuesday, September 23, 2014

Fall Apple Crisp


Apples are falling and it's time to put them to good use! I have been canning applesauce this week and I decided to whip up a dish of warm apple crisp to snack on while I was working. Oh my! I cannot get enough of the tart apple taste with a buttery crumble topping.
This is a quick and easy recipe, perfect for a fall dessert or party.
Enjoy!

Wednesday, June 18, 2014

Chewy and puffy GLUTEN FREE chocolate chip cookies.


If you have ever tried going gluten free, you know that without gluten in baked goods, they can turn out grainy and dry with an odd texture. Gluten provides chewiness in breads and goodies so its tough to find a gluten free recipe that compares.
 My Mom was diagnosed with celiac disease 3 years ago (her guest post here) and since then she has put in a lot of hard work and study to find recipes that are as close to the real thing (with gluten) as possible. She drove over to my house late last night to share a few of these warm and chewy chocolate chip cookies with me.
As I sat in her dark car and took a bite of this new experiment, she waited anxiously to hear what I thought of them. To my great surprise, these little delights are chewy, puffy, moist and full of great texture and flavor. These are not words that you would normally use in the same breath as a gluten free cookie. If you or someone you know is going gluten free or has celiac disease, you have got to make them a plate of these cookies. I guarantee you will get a big hug because they probably haven't had a treat like this is a while!!

Wednesday, June 11, 2014

Homemade Apple Blossoms and my favorite pie dough recipe

 
I am so excited to share this "sculptural" recipe with you. It is a product of pure experimentation in the kitchen, mixing my passions for baking and artistry. I thought it would be so fun to make something a little different than the traditional turnovers, although we love those too as you can see HERE.
 
These apple blossoms are so fun to make for a family breakfast or a delicious dessert. This is also a great recipe to make with your kids! If the apple blooms "blossom" open in the oven, no worries that is part of what makes them fun!
 

Friday, May 30, 2014

How to frost a beautiful cake with a butter knife and tin foil


Ready to ditch the piping bags, fancy cake frosting equipment and sprinkles? Today I'm going to show you a quick and easy way to frost a simple but beautiful cake with just a butter knife and some tin foil. You can use wax paper too. In no time flat you will have a dessert that looks as pretty as it tastes!
 
My first tip for frosting a perfect cake, is to make your cake ahead and freeze it. The cake will stay fresh in the freezer, and when you are ready to frost it, just pull it out and you're all ready to go. Freezing the cake makes it super easy to frost without getting those little cake crumbs smeared all around in the pretty frosting. If you don't have time to freeze ahead, you can still use this process you will just have to be a little more careful as you frost not to dig up the cake.
 
Next step, use a little tin foil or wax paper and rip off four pieces. I liked using tin foil because I folded it down over the edges so it would stay put. You want to keep it close to the edges because we are going to pull these off after we frost our cake.


Next, place your first layer of cake on the pan. Plop the frosting in the top center and spread it around the top of the cake leaving 1/2 inch border. This will leave a little space for when you top the cake with the next layer and the frosting "squishes" a little.


The next important tip for cake frosting is to make sure and frost from the TOP down. That means you only want to add more frosting to the very top of the cake, and use your knife to spread it down to the bottom in small circular motions.

 
Now that the cake is fully covered, we are going to make small circular motions all over the cake to fancy it up a bit. Just use your butter knife. It doesn't have any rhyme or reason, just random circles to make a beautiful cake.

 
Slowly and carefully pull/shake your tin pieces out from under the cake.

 
I topped mine with fresh raspberries for a pop of color and simplicity. Cherry's would be gorgeous too for a more vintage look.


Now go impress your guests with your no mess cake!
 
 
post signature

Saturday, March 22, 2014

Mini Cheesecakes with raspberry swirls


I have been craving cheesecake for 2 weeks now and I finally gave in today and picked up some cream cheese. Now, I don't know how you feel about your cheesecake but for me, I can only have a sliver before it gets too rich.
I decided today instead of making a whole big cheesecake that would probably go to waste, I would make some mini's and share with my Sister in law who is celebrating her birthday. Win Win.
 
I found this recipe from "Martha's Cupcakes" a while ago, and I love it. They look so beautiful and complicated, but if you follow a few simple steps, they turn out looking like they are from a restaurant! The first time I made it I was a little freaked out of doing a "water bath" so I skipped that step and unfortunately my cakes were sunken in the center. A tip for you: Don't skip the water bath. Its easier than it sounds and it makes for beautifully puffy little cakes that will make you smile.
 
The original recipe makes 32 cheesecakes, perfect for a bridal/baby shower or any party you want. For a family size, I will also share a broken down recipe that can make 12 cheesecakes or one for 8.
I have never frozen these cheesecakes as they have never lasted long enough, but I do know they will store in the fridge for a few days if stored properly in an air tight container.
Hope you enjoy this sweet little recipe!
 
 
Recipe: {Makes 32 Cheesecakes}
-Graham cracker crust-
1 1/2 cups finely ground graham crackers (use gluten free graham cracker crumbs if desired)
4-5 tablespoons butter, melted (It may feel a little too dry but once compacted it will set very well!)
3 tablespoons sugar
1/4-1/2 teaspoon cinnamon (OPTIONAL)

-Cheesecake filling-
4 bricks of cream cheese (32 oz) MUST BE ROOM TEMPERATURE
1 1/2 cups sugar
1/8 teaspoon salt
1 teaspoon vanilla
4 large eggs, room temperature (setting your eggs out helps them incorporate into the filling more smoothly)

-Raspberry topping-
In your blender, mix a cup or so of fresh or frozen (thawed) raspberries, strawberries or triple berries.
Add a tablespoon of sugar (more if you want it sweeter) and blend.
Pour liquid through a sieve to separate seeds to make a smooth fruit topping.


 Recipe" {Makes 12 cheesecakes}
-Graham cracker crust-
2-3 tablespoons butter, melted
1 cup graham cracker crumbs (use gluten free graham cracker crumbs is desired)
3 teaspoons sugar
1/4 teaspoon cinnamon (OPTIONAL)

-Cheesecake filling-
2 bricks of cream cheese (16 oz) MUST BE ROOM TEMPERATURE
 3/4 cup of sugar
pinch of salt
1/2 teaspoon vanilla
2 large eggs- room temperature


-Raspberry filling-
1/2 cup of raspberries or about 6-8 strawberries
2 teaspoon of sugar
In your blender, mix fresh or thawed raspberries, strawberries or triple berries and sugar until pureed.
Pour liquid through a sieve to separate seeds to make a smooth fruit topping.

 
{Recipe: makes 8 cheesecakes}
 -Graham Cracker Crust-
2 1/4 tsp. sugar
1/4 cup + 2 Tbsp. graham cracker crumbs (use gluten free graham cracker crumbs if desired)
2 1/4 tsp. butter, melted
Dash of cinnamon (OPTIONAL)

-Raspberry Topping-
1/2 cup. raspberries, strawberries or triple berries fresh or thawed.
1 tsp. sugar

-Cheesecake filling-
1 brick (8 oz.) cream cheese MUST BE ROOM TEMPERATURE
1/4 cup + 2 Tbsp. sugar
pinch of salt
1/4 tsp. vanilla
1 large egg room temperature
 
 Directions for all:
Preheat oven to 325°F.
Line your muffin tins with paper liners. To make your life very easy, cut small strips of wax or parchment paper to go underneath your cheesecakes to make them extra easy to remove! Spray liners with pam cooking spray.

 Stir together ground graham crackers, butter, sugar and optional cinnamon. Press 1 tablespoon crust mixture firmly into bottom of each lined cup. Press with a (tippy) cup to make a firm crust! Bake until set, about 5 minutes. Transfer tins to a wire rack to cool.

Blend raspberries, strawberries or triple berries and sugar in a food processor or blender until smooth, about 30 seconds. Pass puree through a fine sieve into a bowl, pressing with a spatula to remove as much liquid as possible and separate seeds. Toss seeds in the garbage when done.

With an electric or stand mixer on medium-high speed, beat cream cheese until fluffy, scraping down sides of bowl as needed. With mixer on low speed, add your sugar in a steady stream. Add salt and vanilla; mix until well combined. Now add your eggs, one at a time, beating until just combined after each.

Spoon 2 heaping tablespoons of filling over crust in each cup. Use a spoon to make a few drops of  raspberry, strawberry or blackberry puree on the top of each cheesecake (about 1/2 a teaspoon). With a  skewer or back of your spoon, swirl sauce on the top of the cheesecakes . Put your cupcake pan on a baking sheet and add enough water to go about 1/2 way up the sides of the cookie sheet. THIS IS ALL YOU HAVE TO DO FOR THE WATER BATH! Do not skip this step, or your cheesecakes will sink in the center during baking.

Bake cheesecakes 30-32 minutes or until centers are set! THE WATER WILL BE VERY HOT so carefully remove your pan from the oven and out of the water on the tray. I like to turn the oven off and open the door a little to let them cool for about 5 minutes and I am able to carefully lift the pan out. Carefully transfer cheesecakes to a pan that you will transfer into the fridge.  Refrigerate for AT LEAST 4 hours. The longer the better.
 These can be made a day head, and I actually think they taste better that way as they are better set. They can be stored for 3 days (after cooled overnight, remove paper liners to store as they become moist as time goes on). Store in an airtight container or large ziplock bag in the fridge.
 
                                   I used my baby's tippy cup to press the crust into the tins.


 *Make sure and mix things in the right order, cream cheese, sugar, vanilla, salt and then eggs. It does make a difference! You should end up with a very smooth and creamy filling. Take a spatula and scrape down the sides and bottom of bowl to make sure you don't have any chunks of cream cheese.

 
Using a sieve to strain the seeds leaves a delicious smooth raspberry sauce.


Just a few drops on top will be perfect. Use a skewer or the back of a spoon about 1/4 of the way down into the filling to swirl them.
**NOTE: As you can see in my first pan, I used strawberry to top my cheesecakes and the liquid was much thinner than the raspberry below. It was also a lighter pink color after swirled (see 3rd pic) still very pretty but if you want the deep red color, go for the raspberry for sure).


**NOTE** did you know you can find cake carriers at the $1 store? They are so cute and PERFECT to carry/store/deliver cupcakes, cakes or cheesecakes! And since they are only a buck, you can give the container to whomever you're delivering the goodies too! No pan returning? That's my style.
 
 
The perfect bite of creamy sweetness.
 
 
This recipe can be made with so many toppings. You could try plain cheesecakes with blueberries on top, cherry, caramel or chocolate... the sky is the limit! You could also use a Nilla wafer for the crust or an oreo!
 
Don't forget to pin the recipe to your goodie folder!

 
  
post signature
 
Blogging tips